SPEAKER BOX
01
02
03
04
05
01![]()
> > > > > > > >Part one - CASE DESIGN
We are going to use a online tool for making boxes. It is called MAKERCASE
We select to work in mm(unlike you like to use imperial)

We choose the size of our box in this case the minimum size we can choose is 60mm as the biggest components for our box is the speaker an is 70mm diameter
We are going to design the case thinking about the inner space ( the components ) so we should select inner size.
The outer is going to be the addition of the inner (70mm in this case) + the material thickness (5mm material size of one side + 5 mm material size of the other side) so the outer box is going to be 80mm in total.

We select the thickness of our material. Better you measure the thickness of your material better results you will have.Take a caliper to measure your material as even if you buy a 5mm woodplank it is not usually 5 exact milimeters.


Select the corner joins you like the most.Finger slots is the recommended one as it makes the case easy to assemble and durable.T-slot is stronger but in case of making small slots it is easy to break parts. I don't recommend to use flat as it will be difficult to have a perfect corner with a lot of glue.

You can select the lenght of the slot.That it is on your taste but don't make it smaller than 10mm or the slots will be fragile

NOW IT IS TIME TO GENERATE THE PLANS!

Wait before dowloading your plans.Check the Kerf .In this case for FabLabSeoul lasercutter it is between 0,1-0,2mm bigger you make the number more tight the join will be.(sample one is 0.1 and works perfect)

NOW YES! DOWNLOAD YOUR PLANS!

02![]()
> > > > > > > > Part two - MOUNTING THE PARTS
03![]()
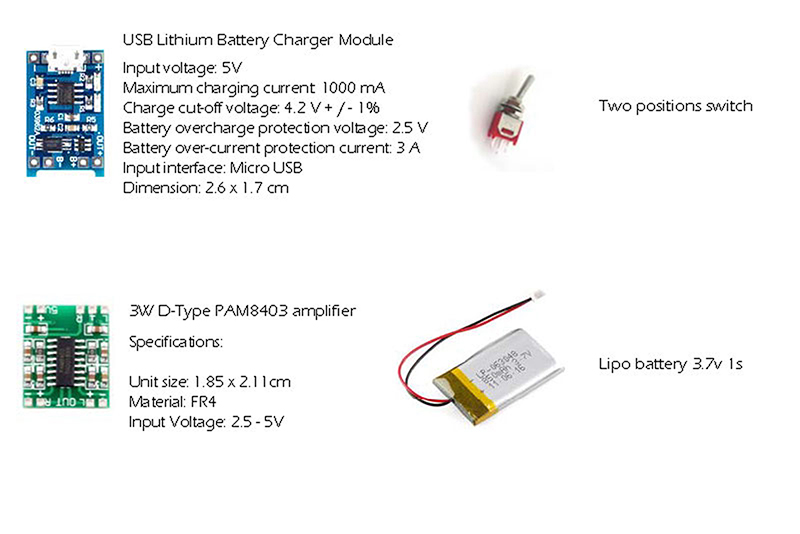
> > > > > > > > Part three - ELECTRONIC


04![]()
> > > > > > > > Part four - WIRING
05![]()
> > > > > > > > Part five - ASSEMBLY
All the contents are created by Eduardo Chamorro and are licensed under a Creative Commons Attribution-NonCommercial-ShareAlike 4.0 International License.