Assembly
You got the parts.Now assemble the components
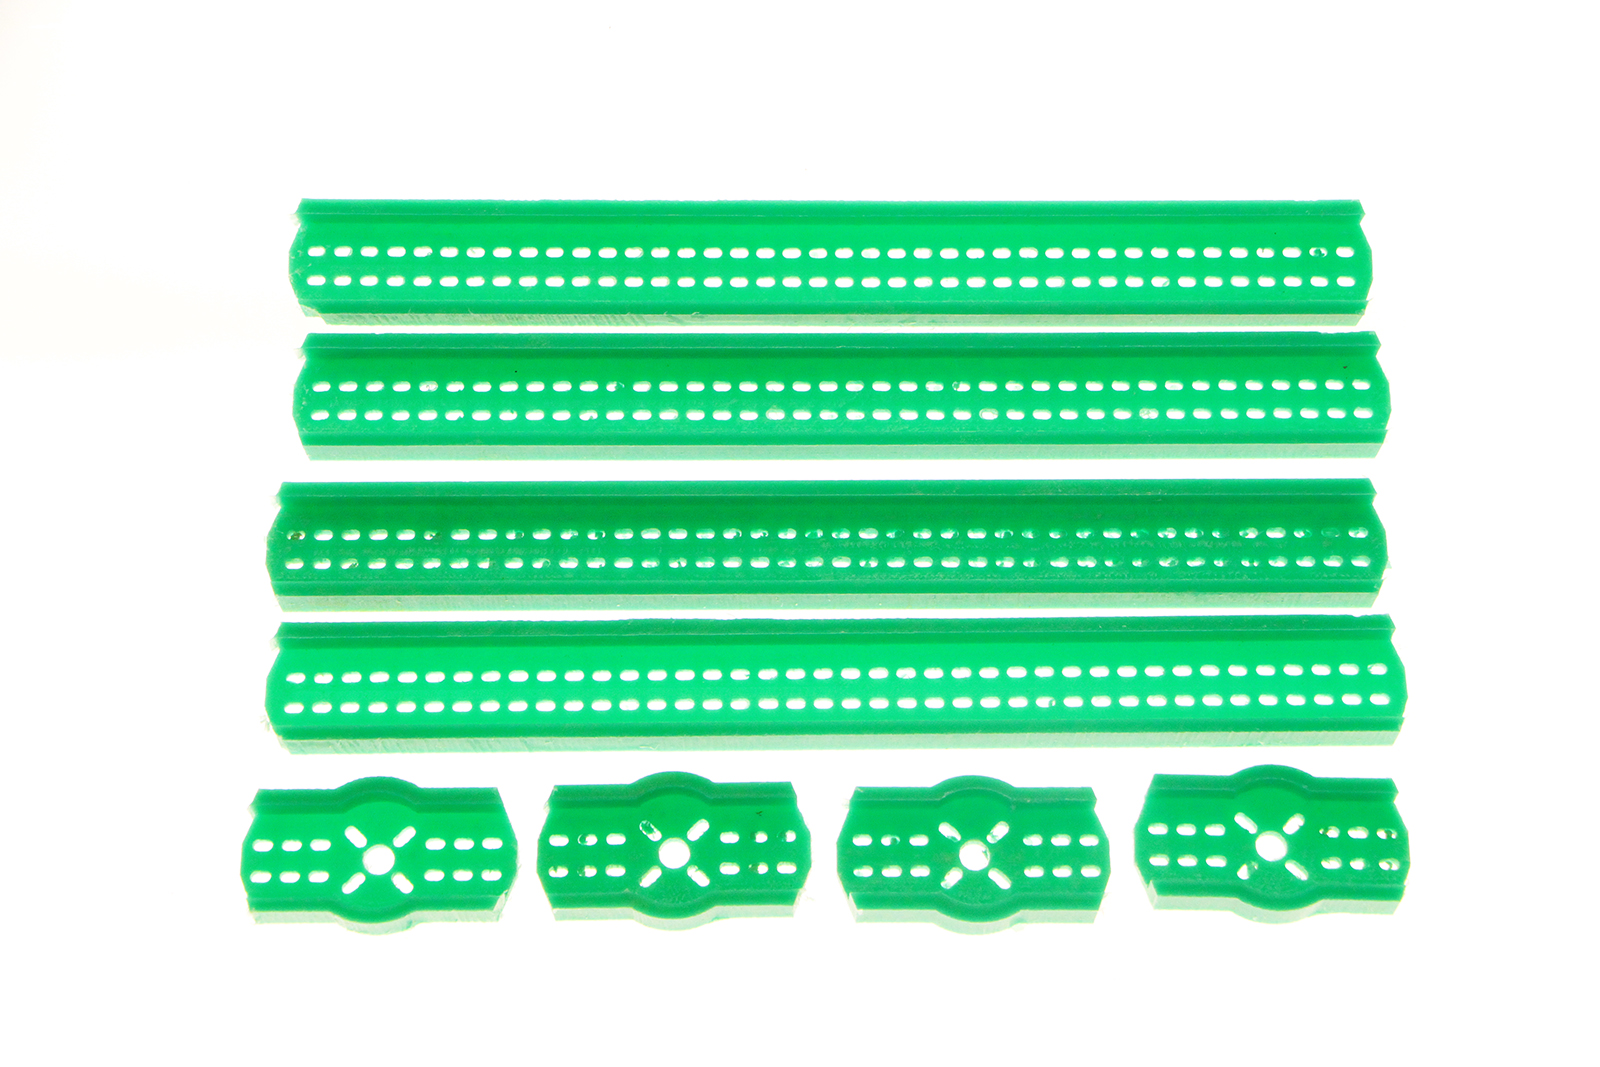
Now that you got the parts is time to assemble. This is a step by step guide with pictures. Just follow them in order to get to the correct assembly
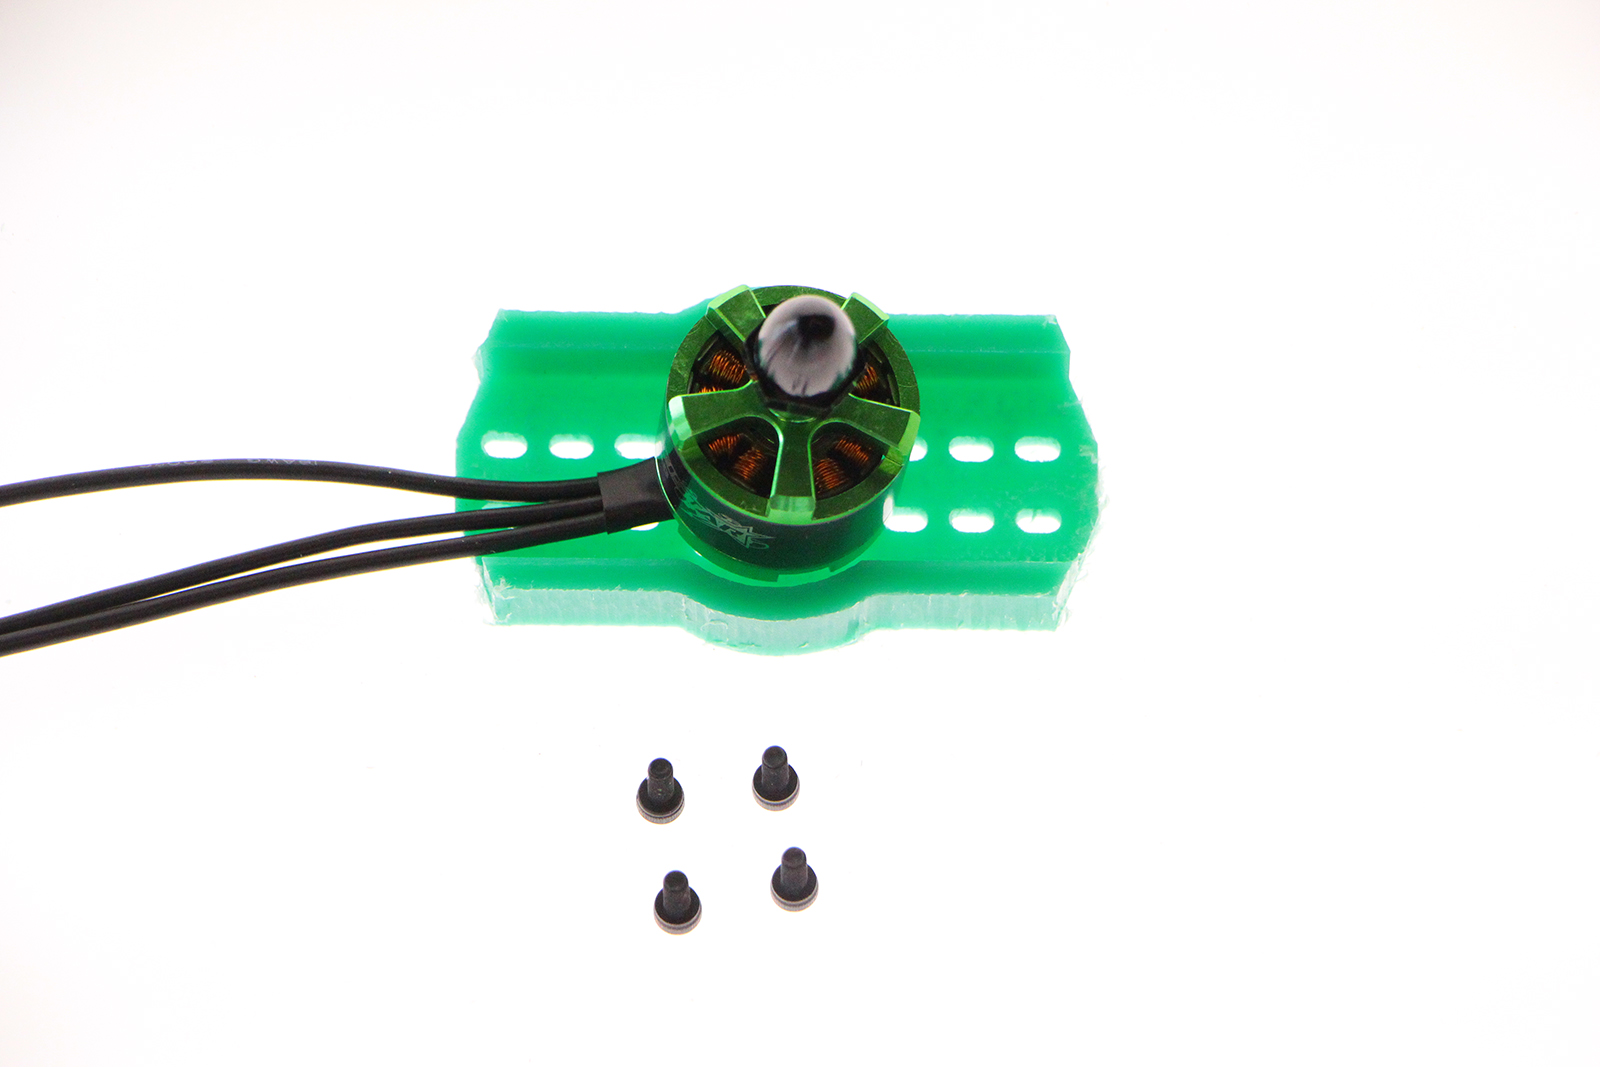
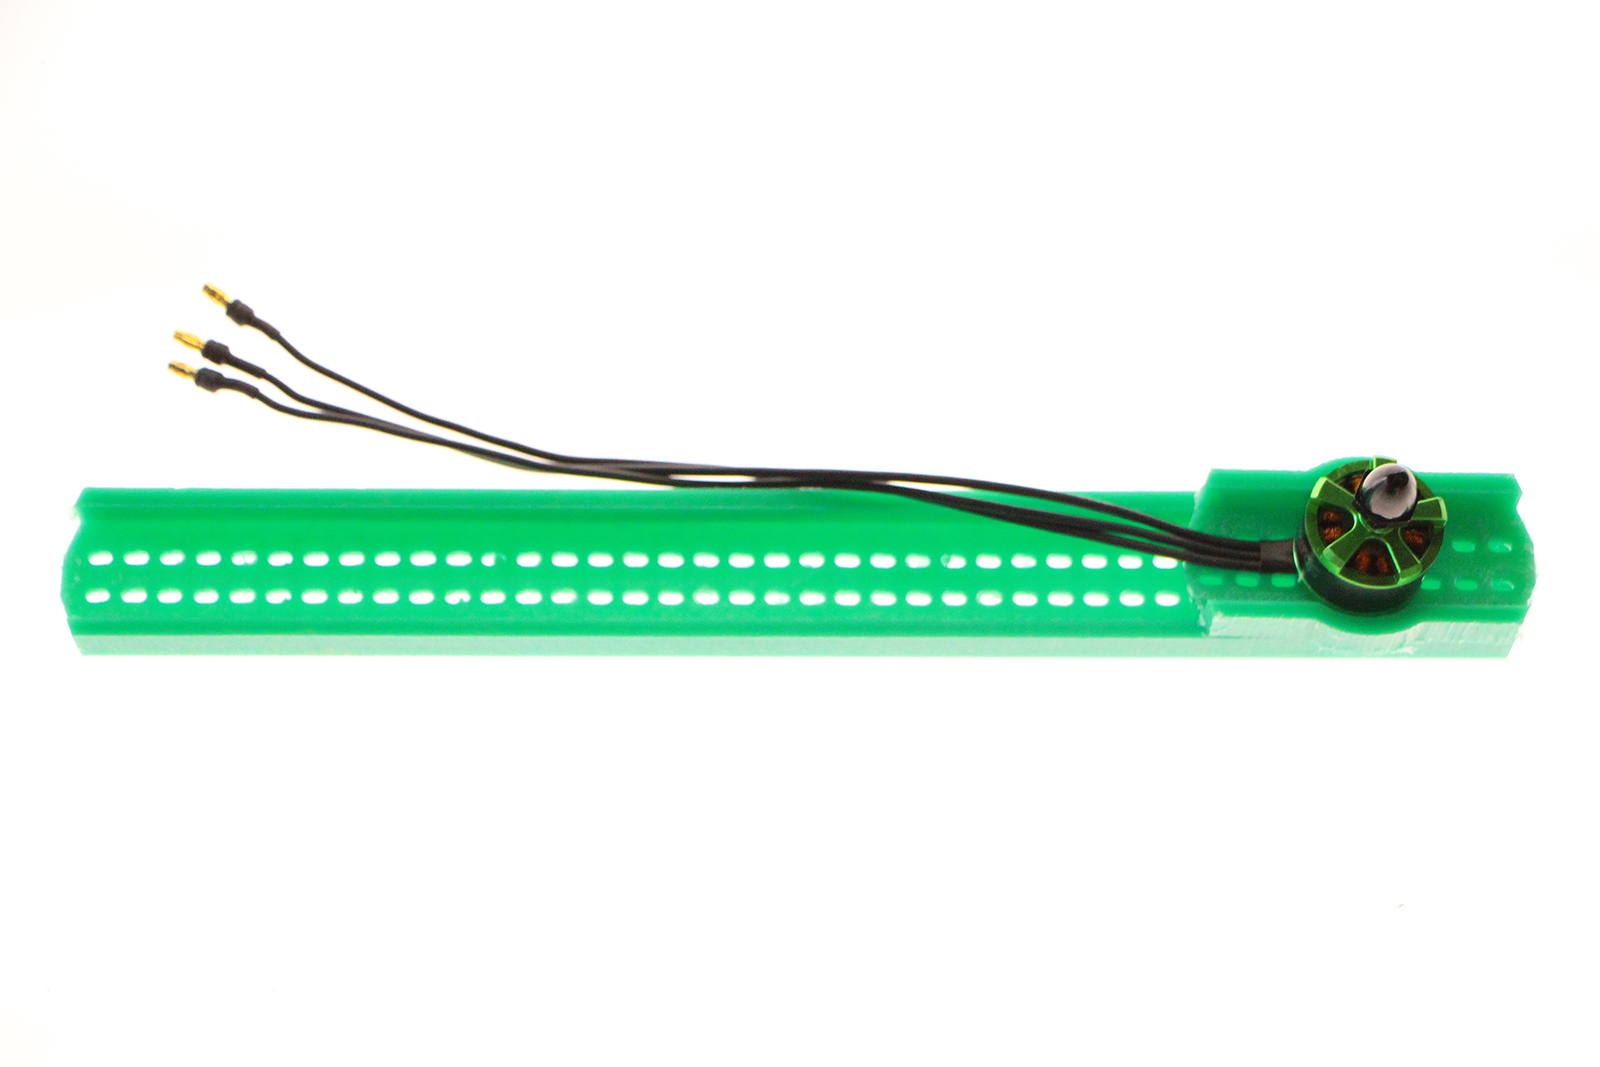
Check that your motor fits correctly in the motor holder and the exterior part of the motors doesn't touch the frame.
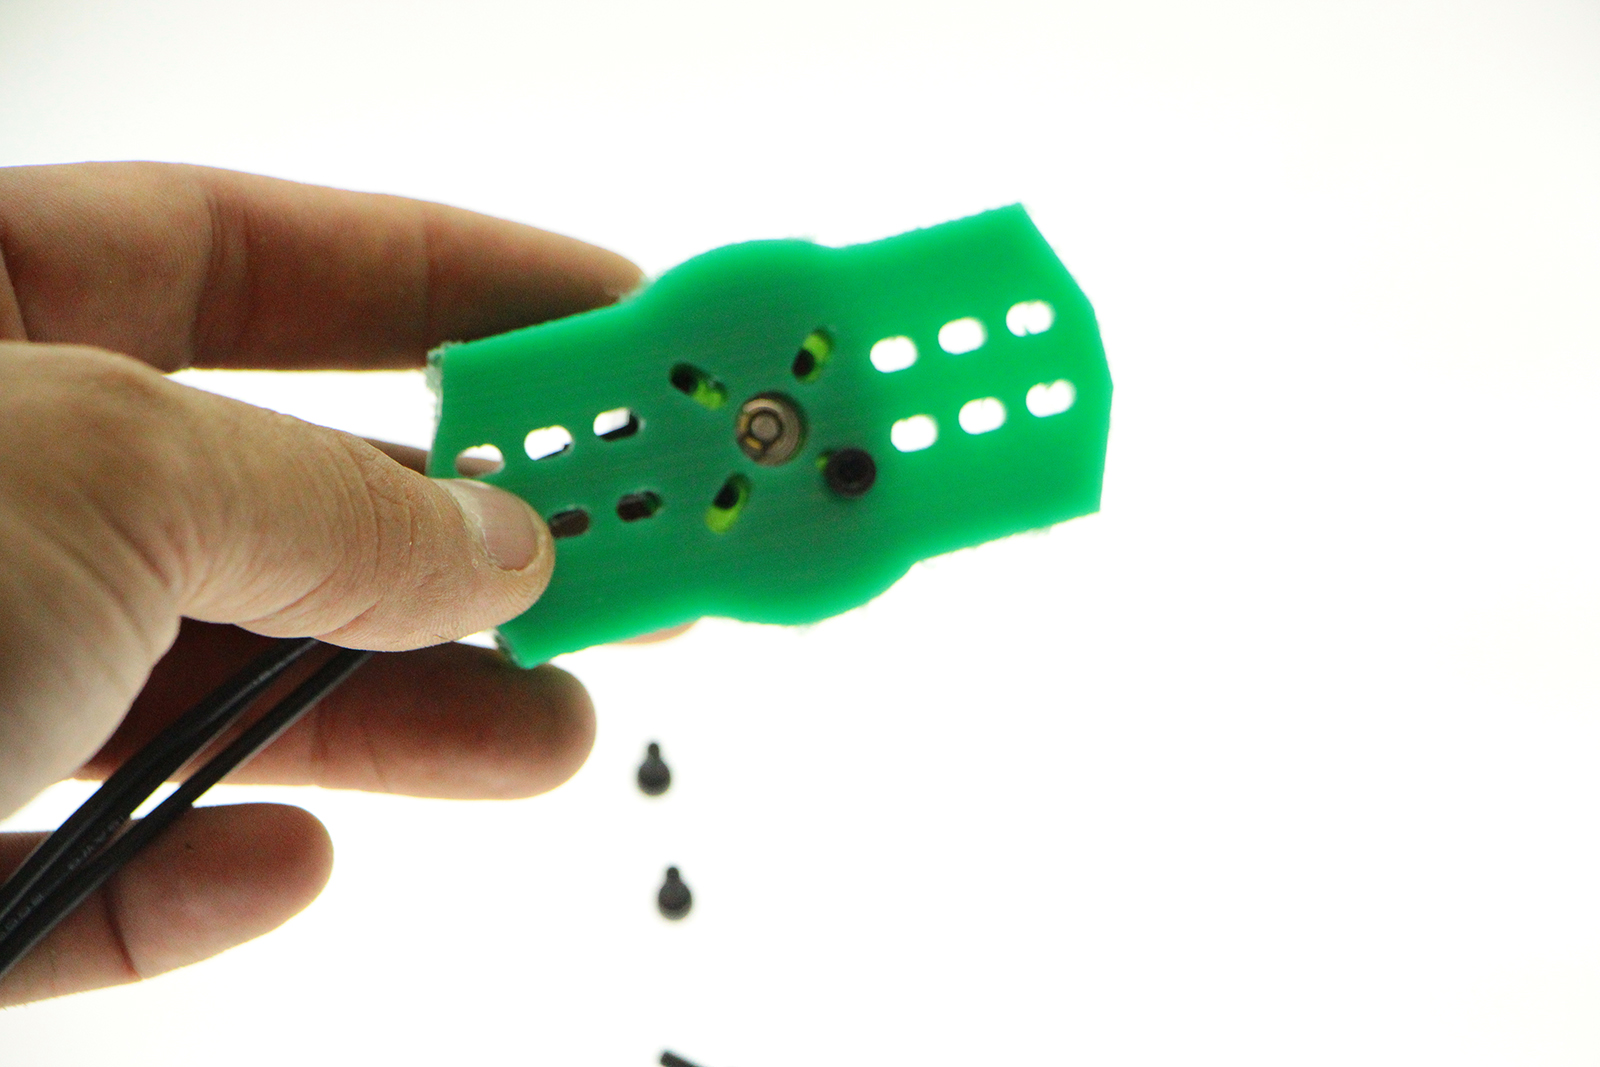
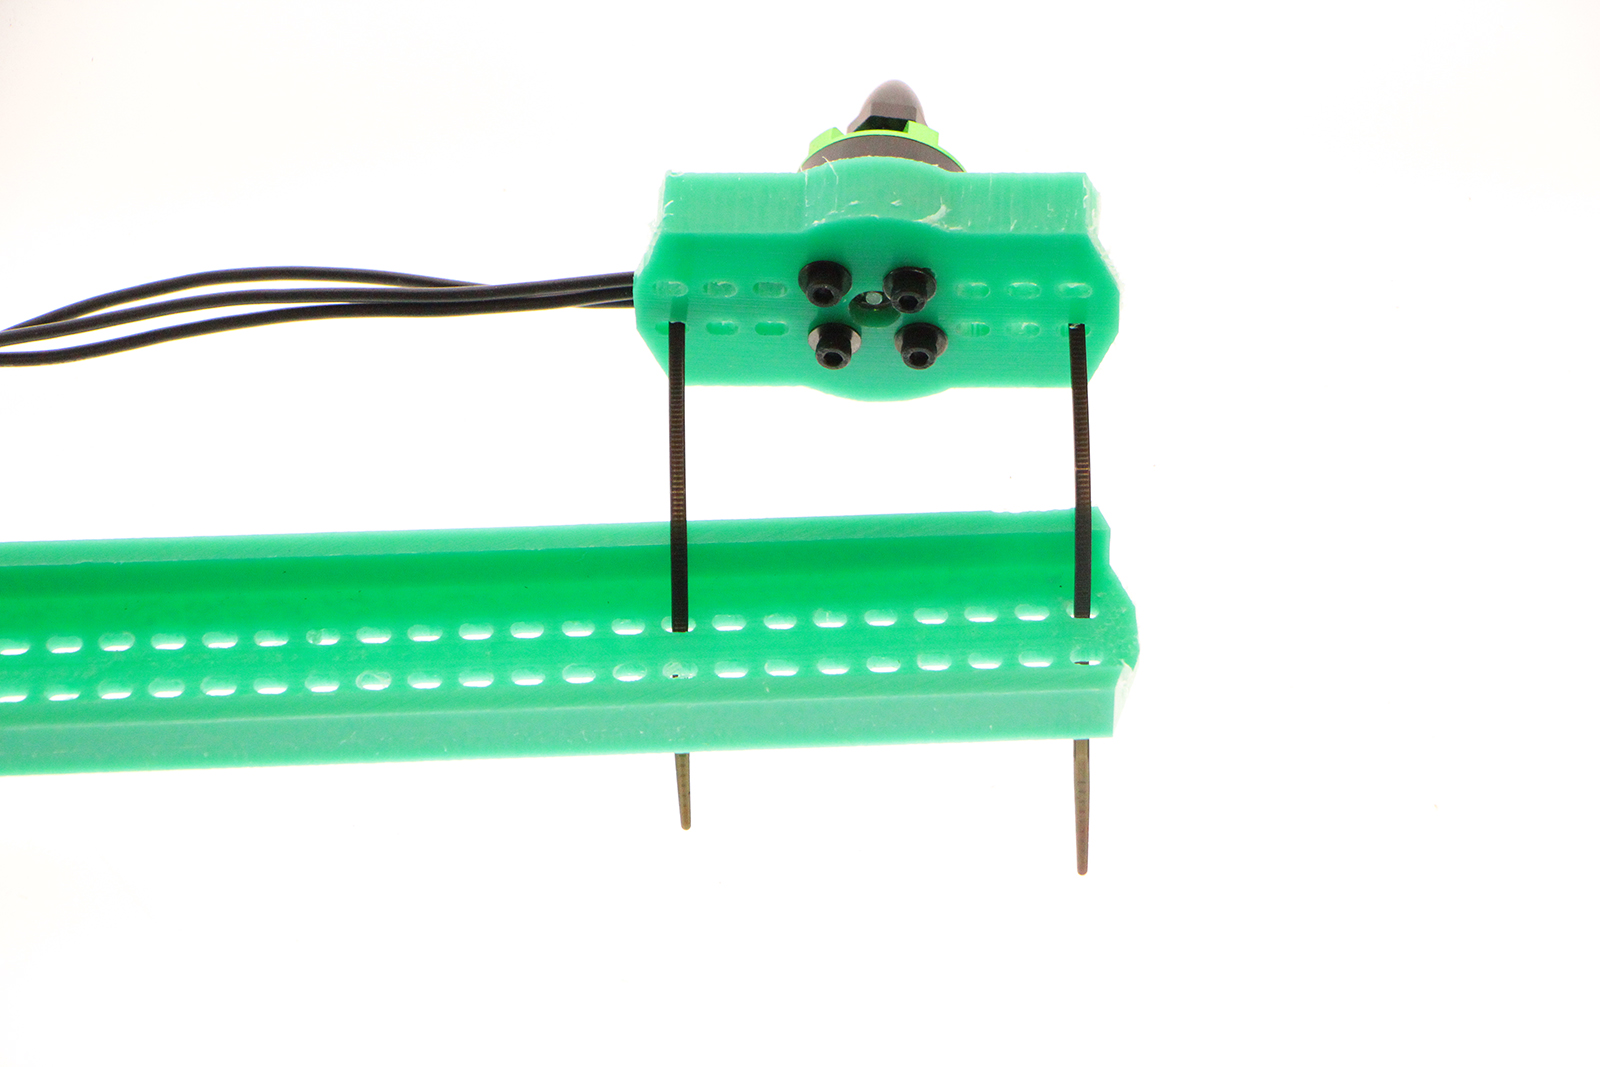
For attaching the motor to the holder we will use the 4 screws provided with the motor and washers. In each screws we will use two washers.
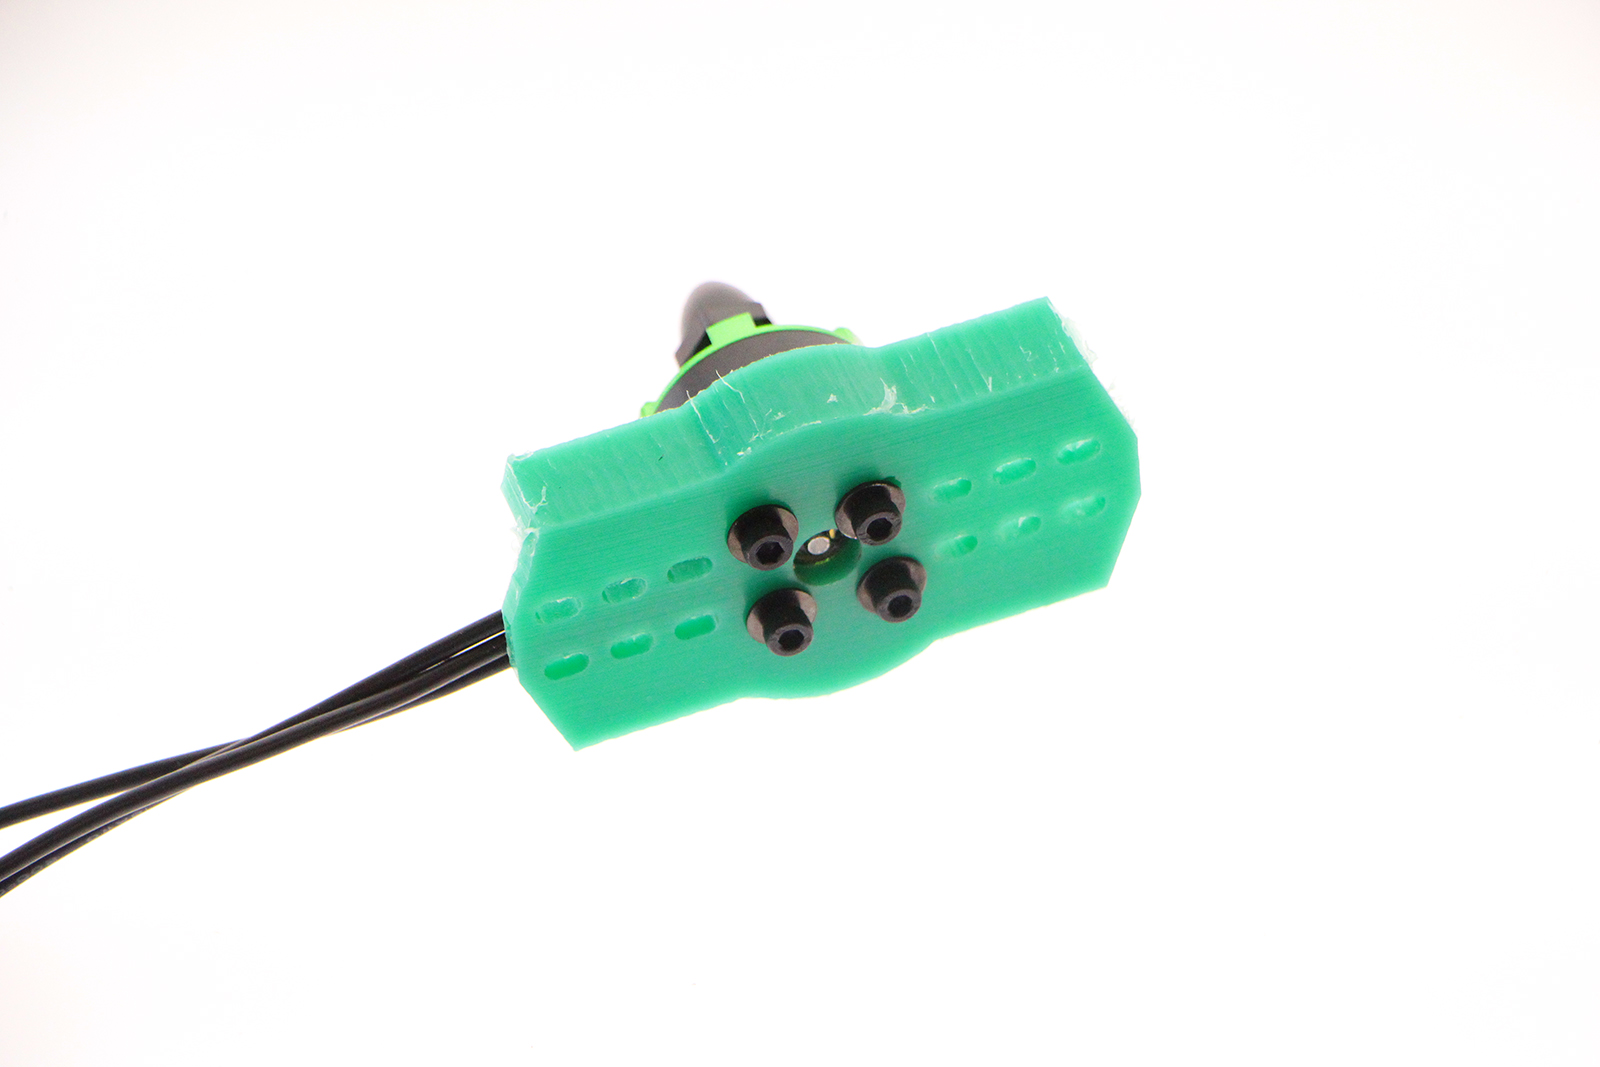
We use double washers to be sure the screws doesn't touch the winding of the motor (the inside copper wires) and it doesn't make a short in our motor.
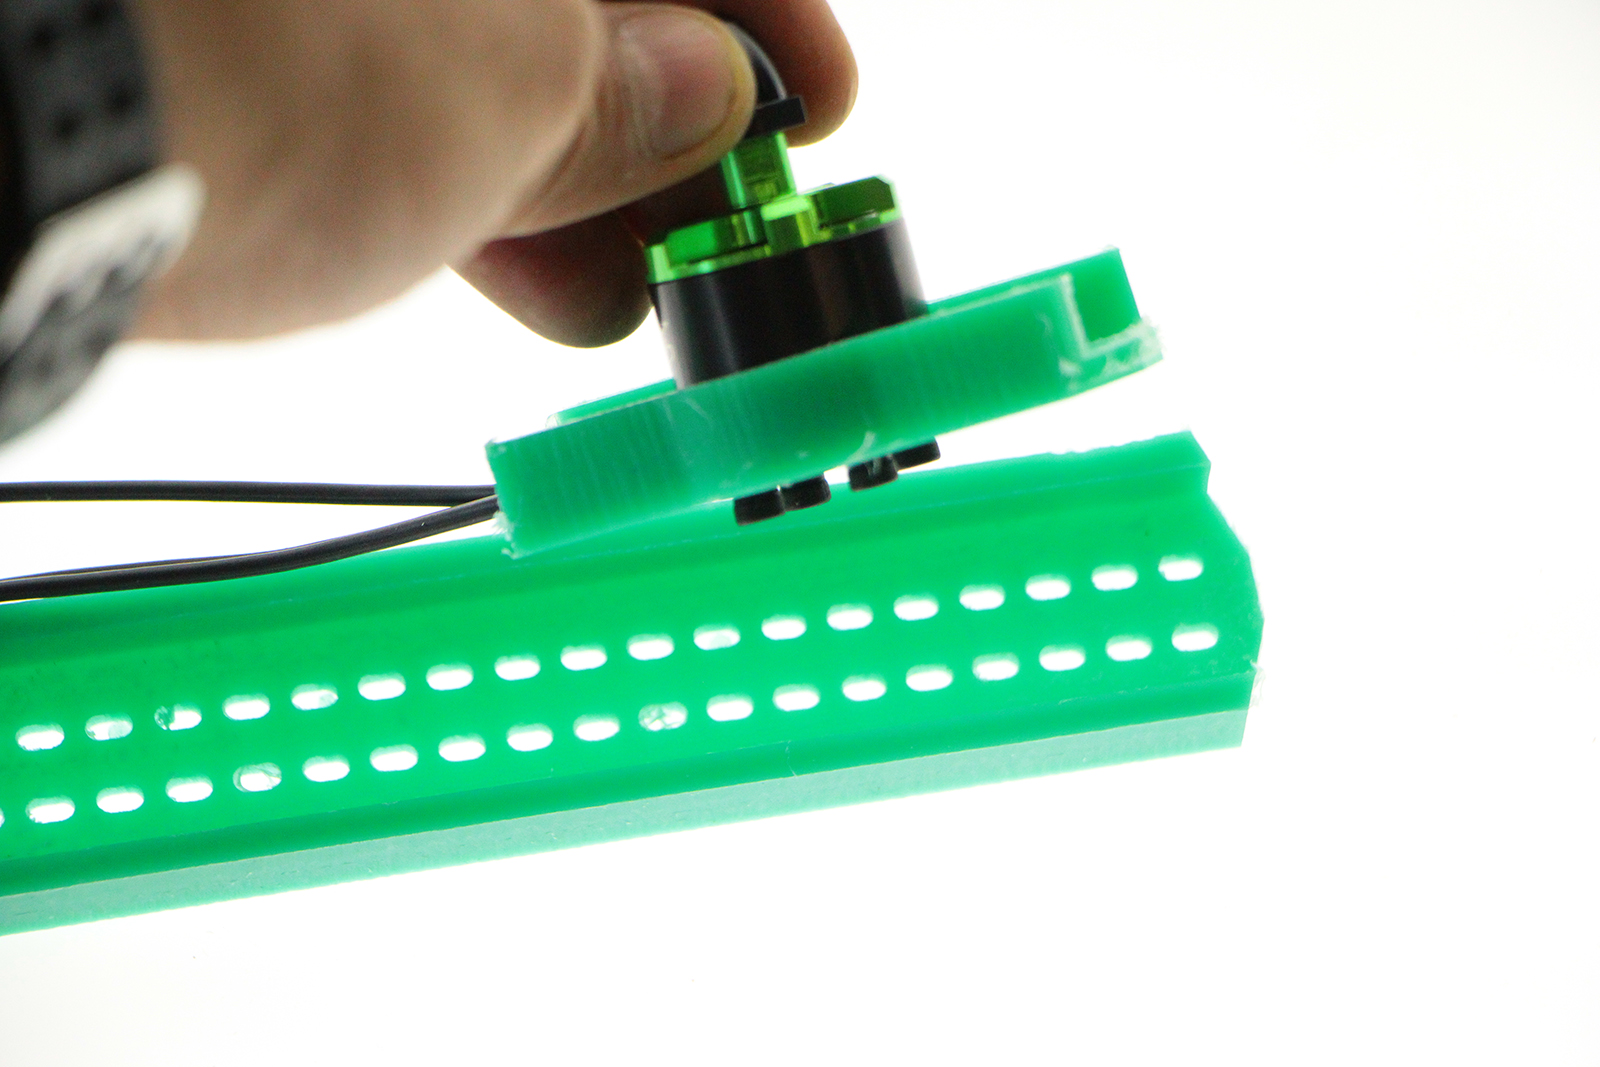
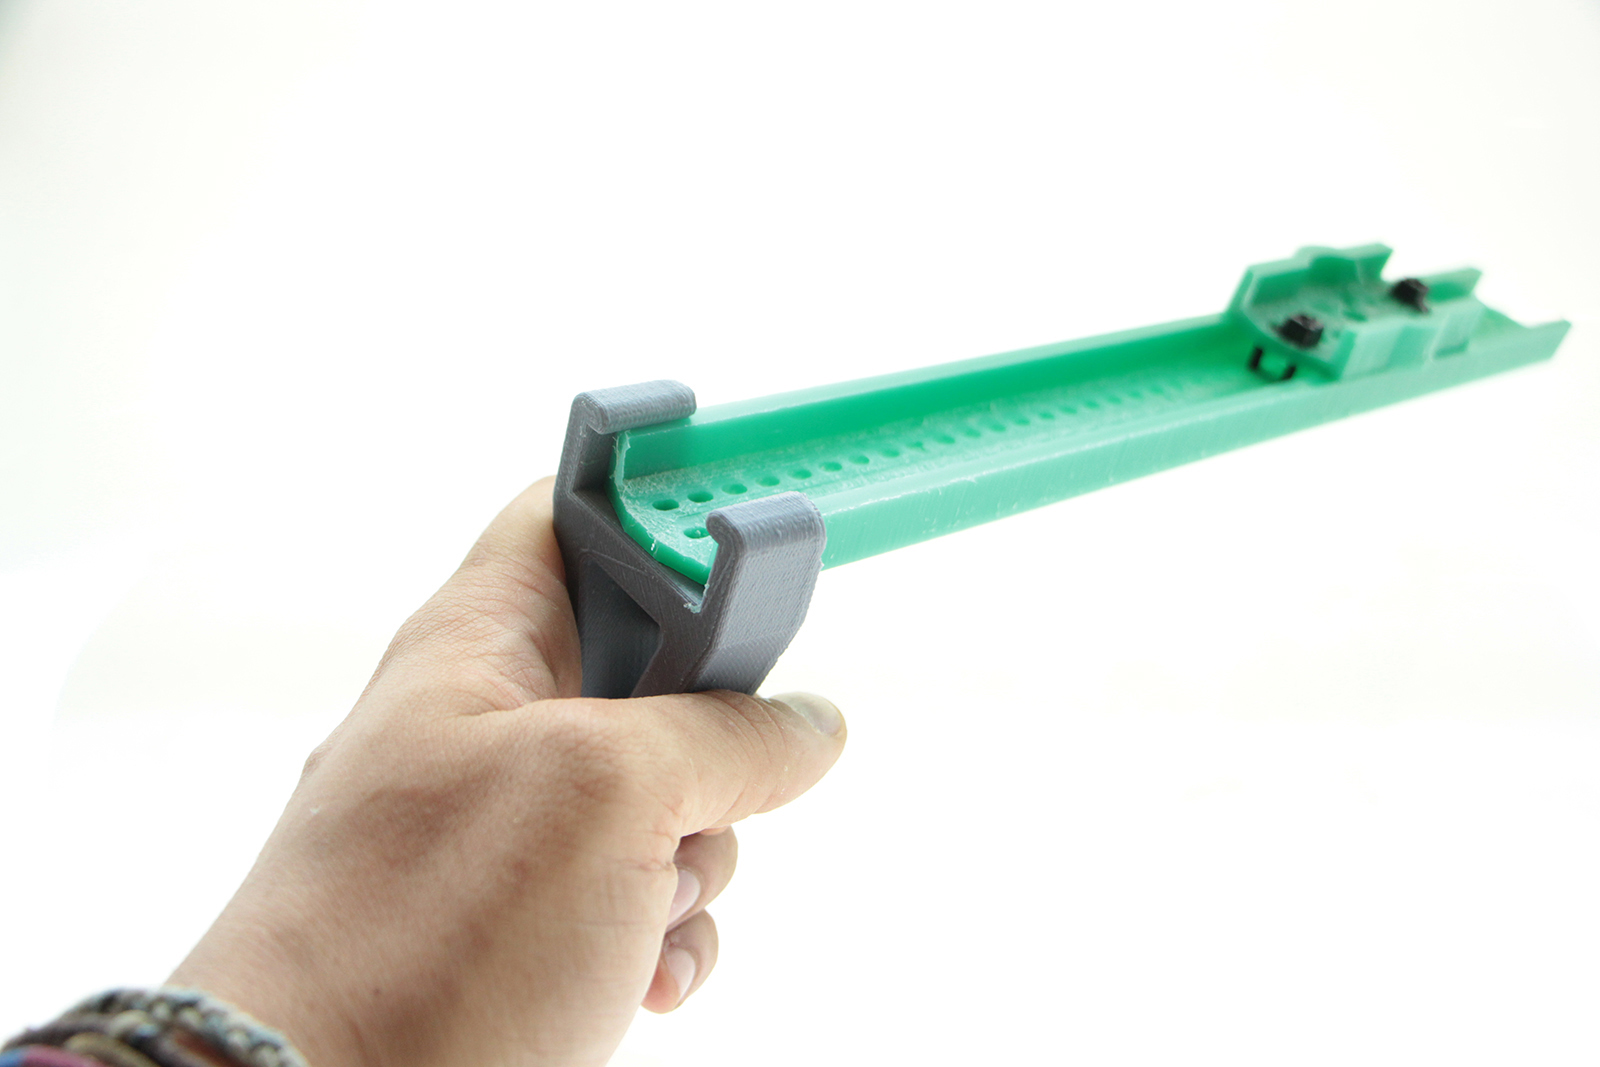
We can now check that the motor holder fits inside the arm.
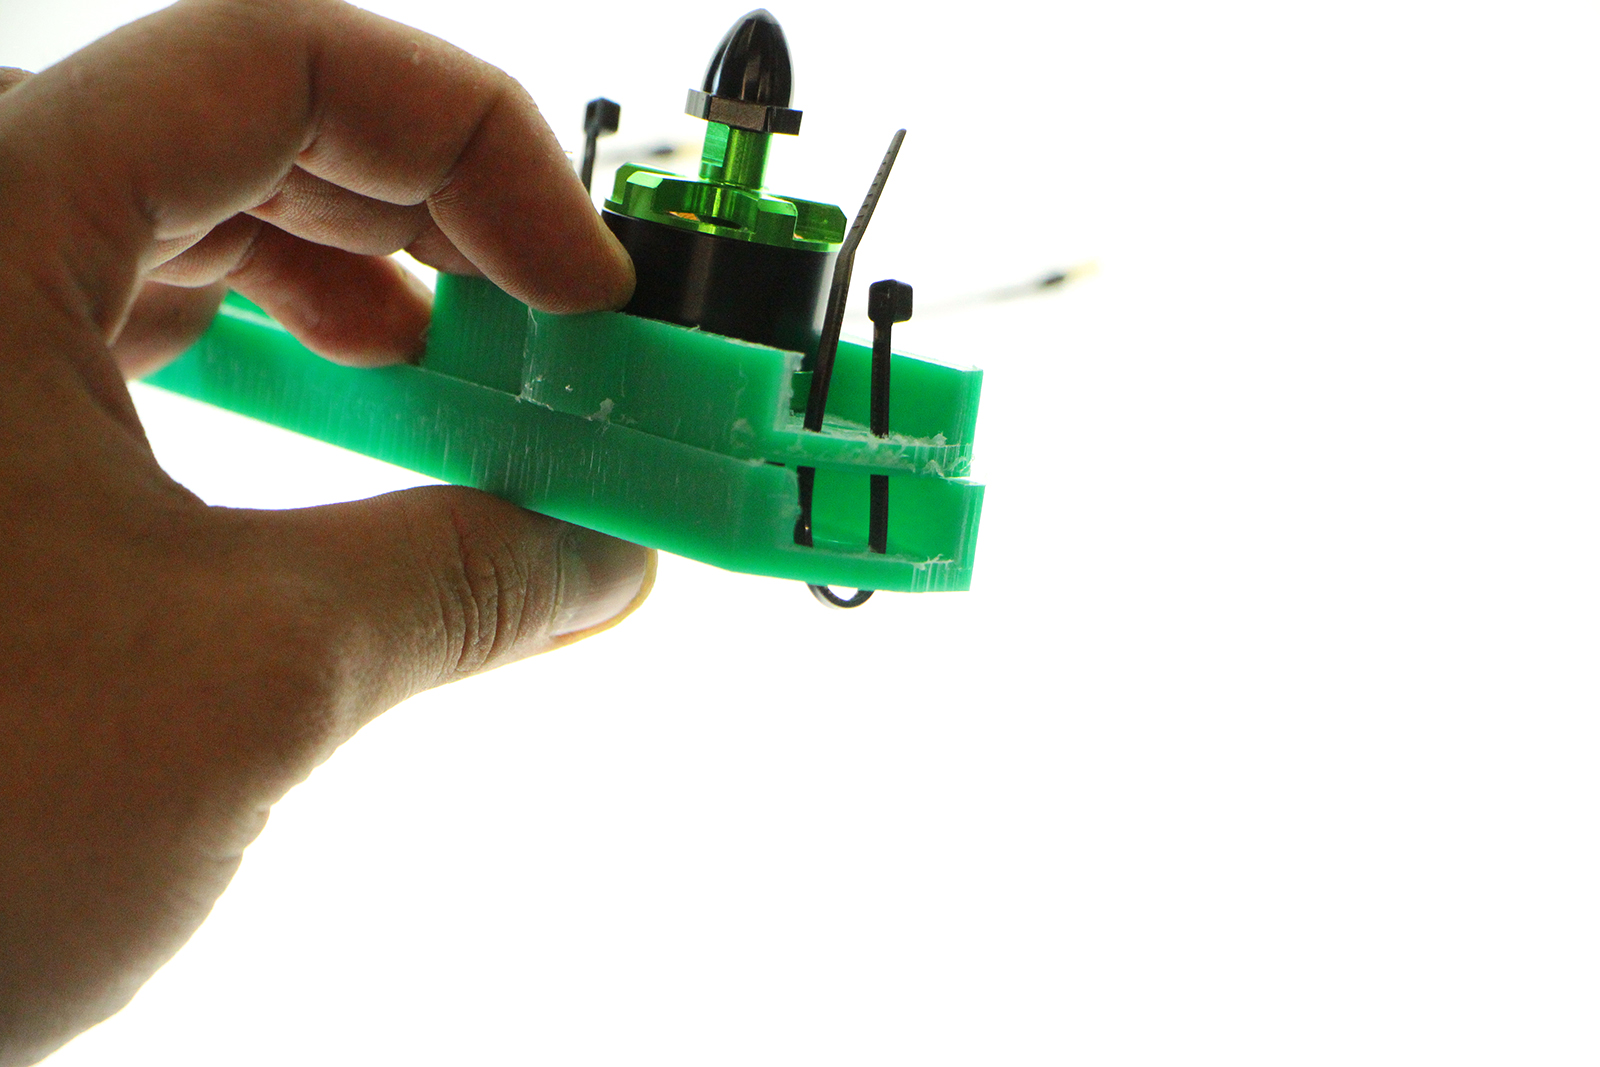
As you can see we can mount it in multiple positions, choose the one you like. In the middle the lenght of the arm will protect the propeller from breaking. In the inner the multicopter will be more agile and in the exterior it will be more stable.

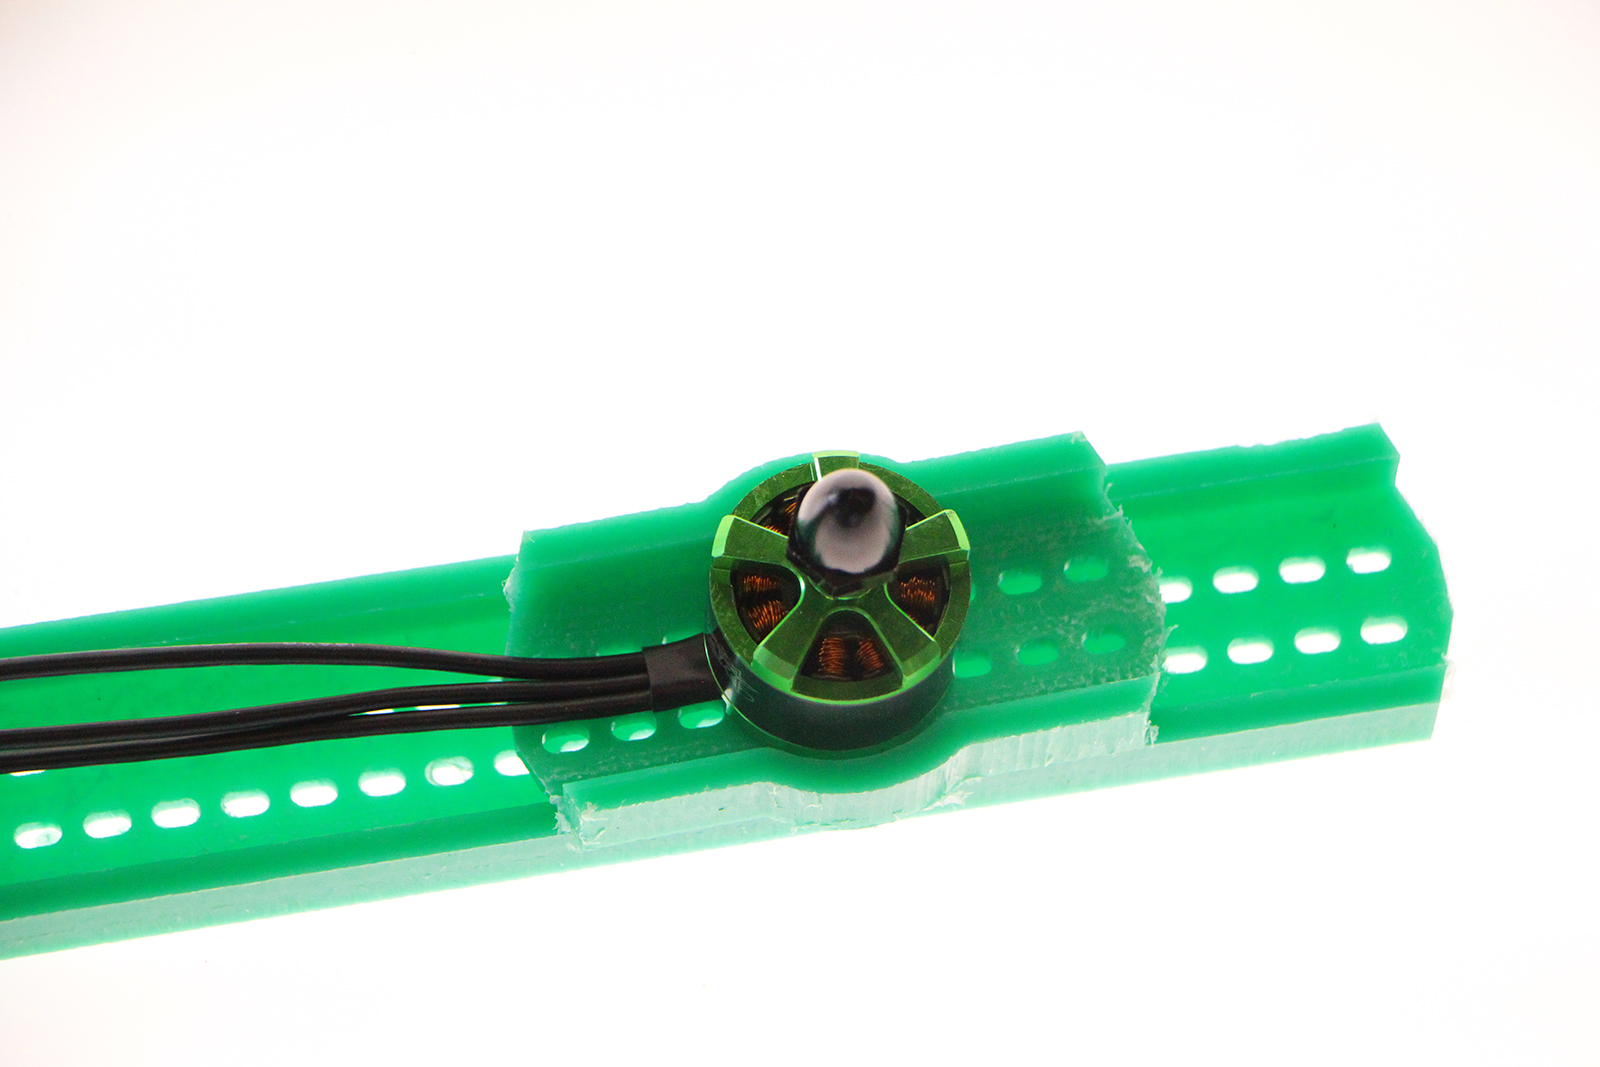
Use zipties of 4 mm to attach the holder to the arm. Remember to use the same position for the rest of the motors/arms so the multicopter is simetric.
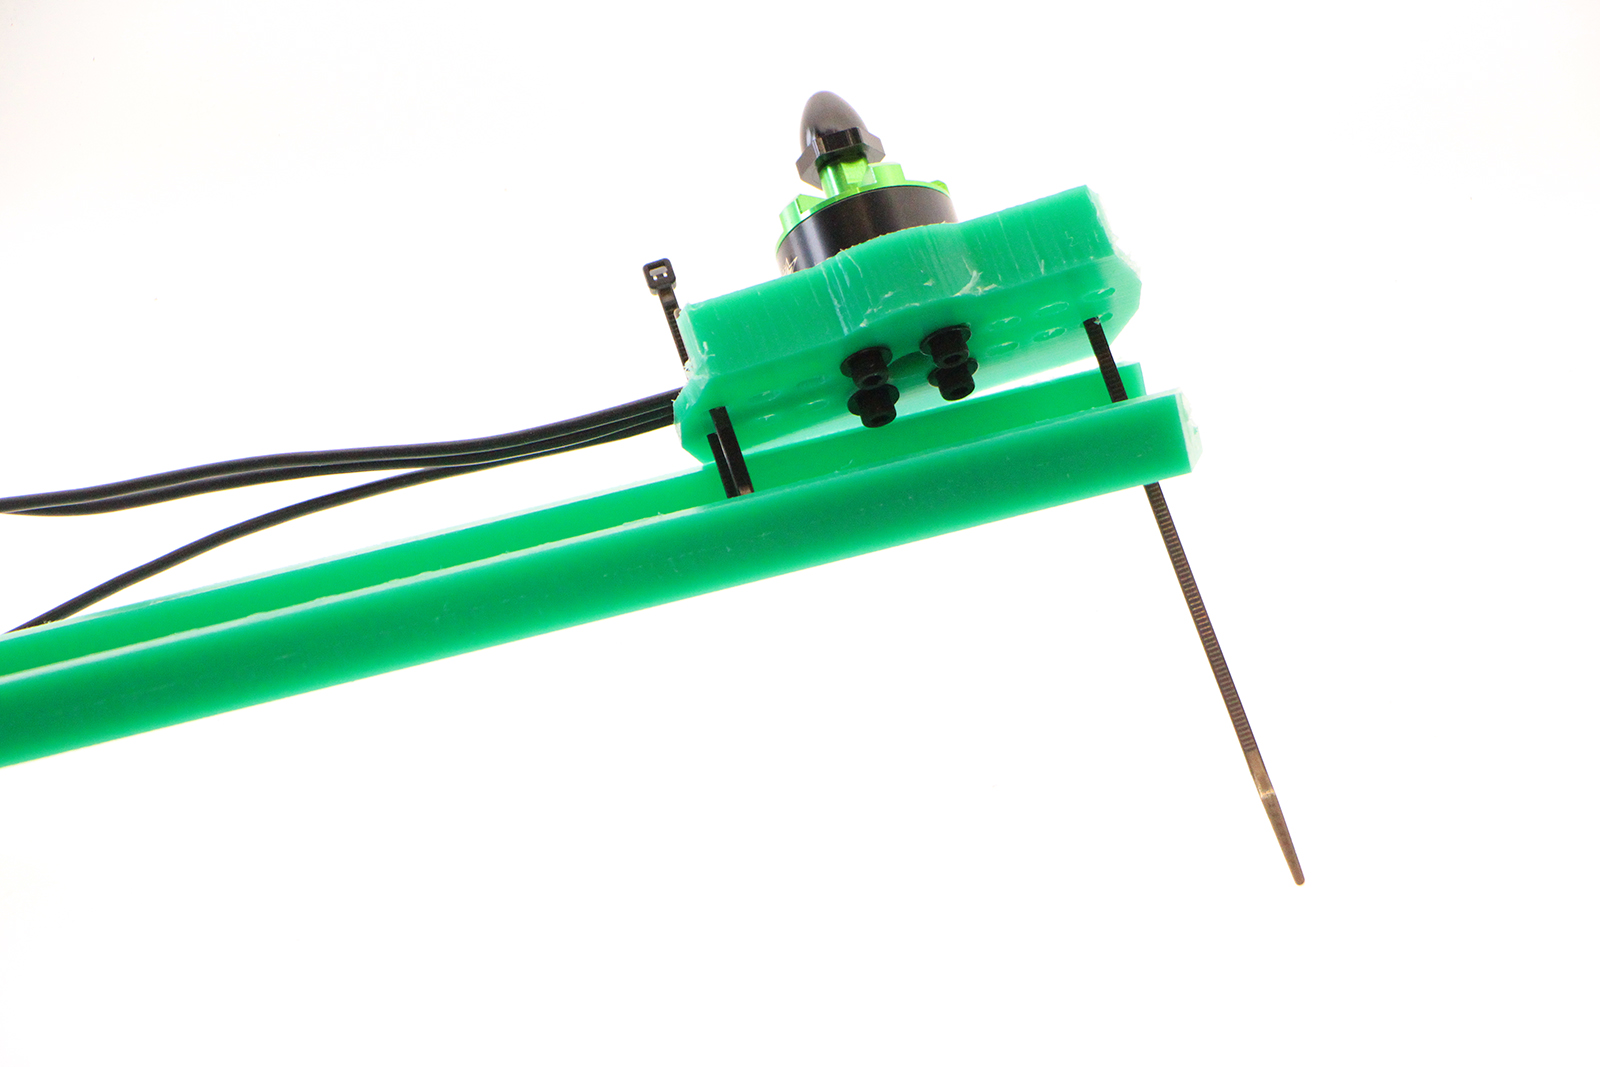
Be careful to don't ziptie over the motor wires! Thight well the zipties and cut the leftover.
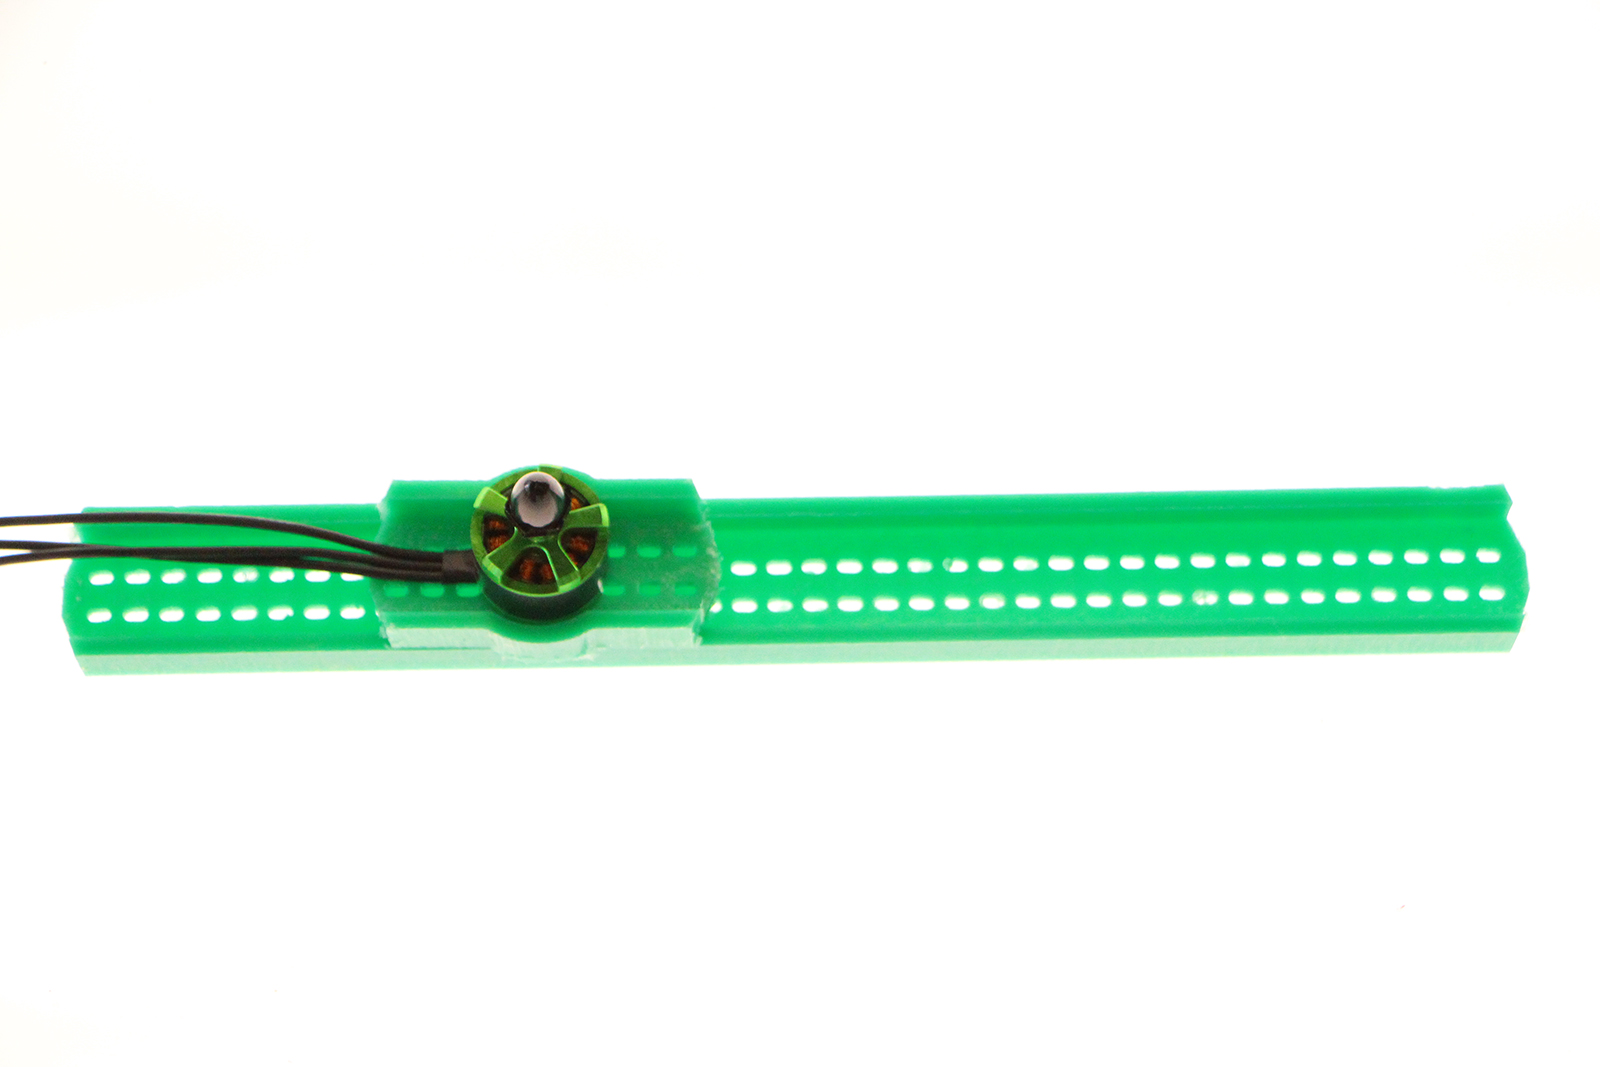
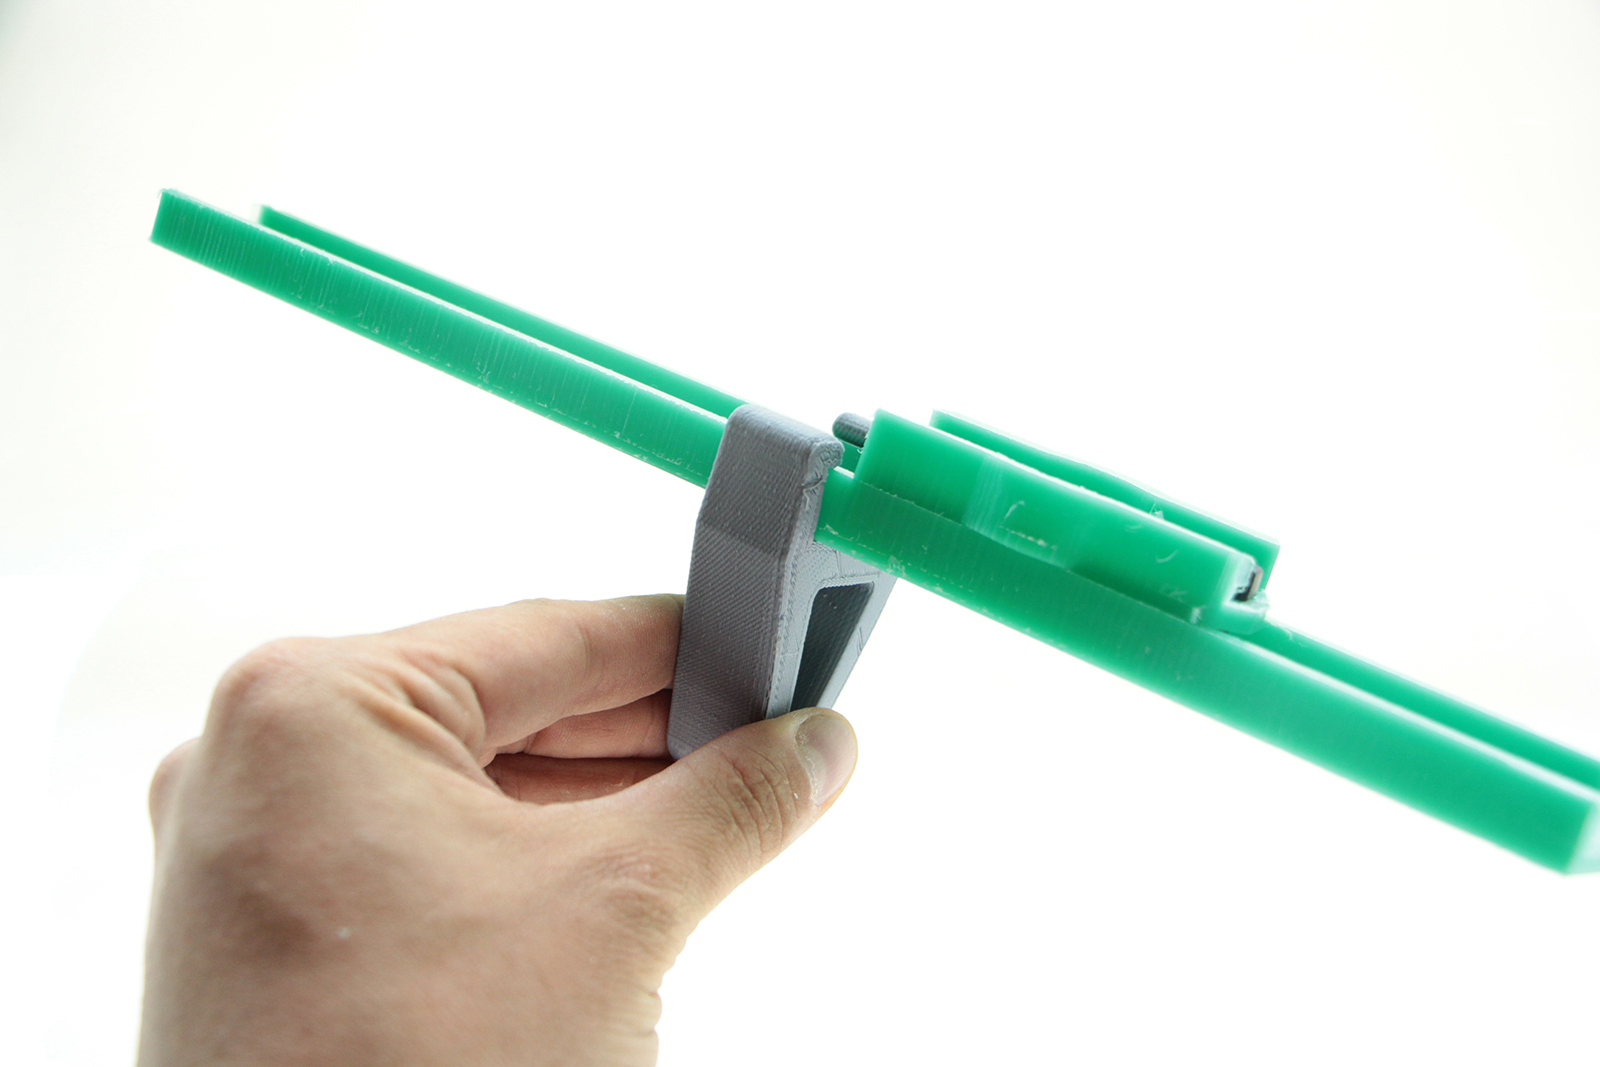
Introduce the landing leg on the arm. It may fit thight, in that case you can use a hot air gun or a hair drier to heat the plastic and help you introduce it easily.
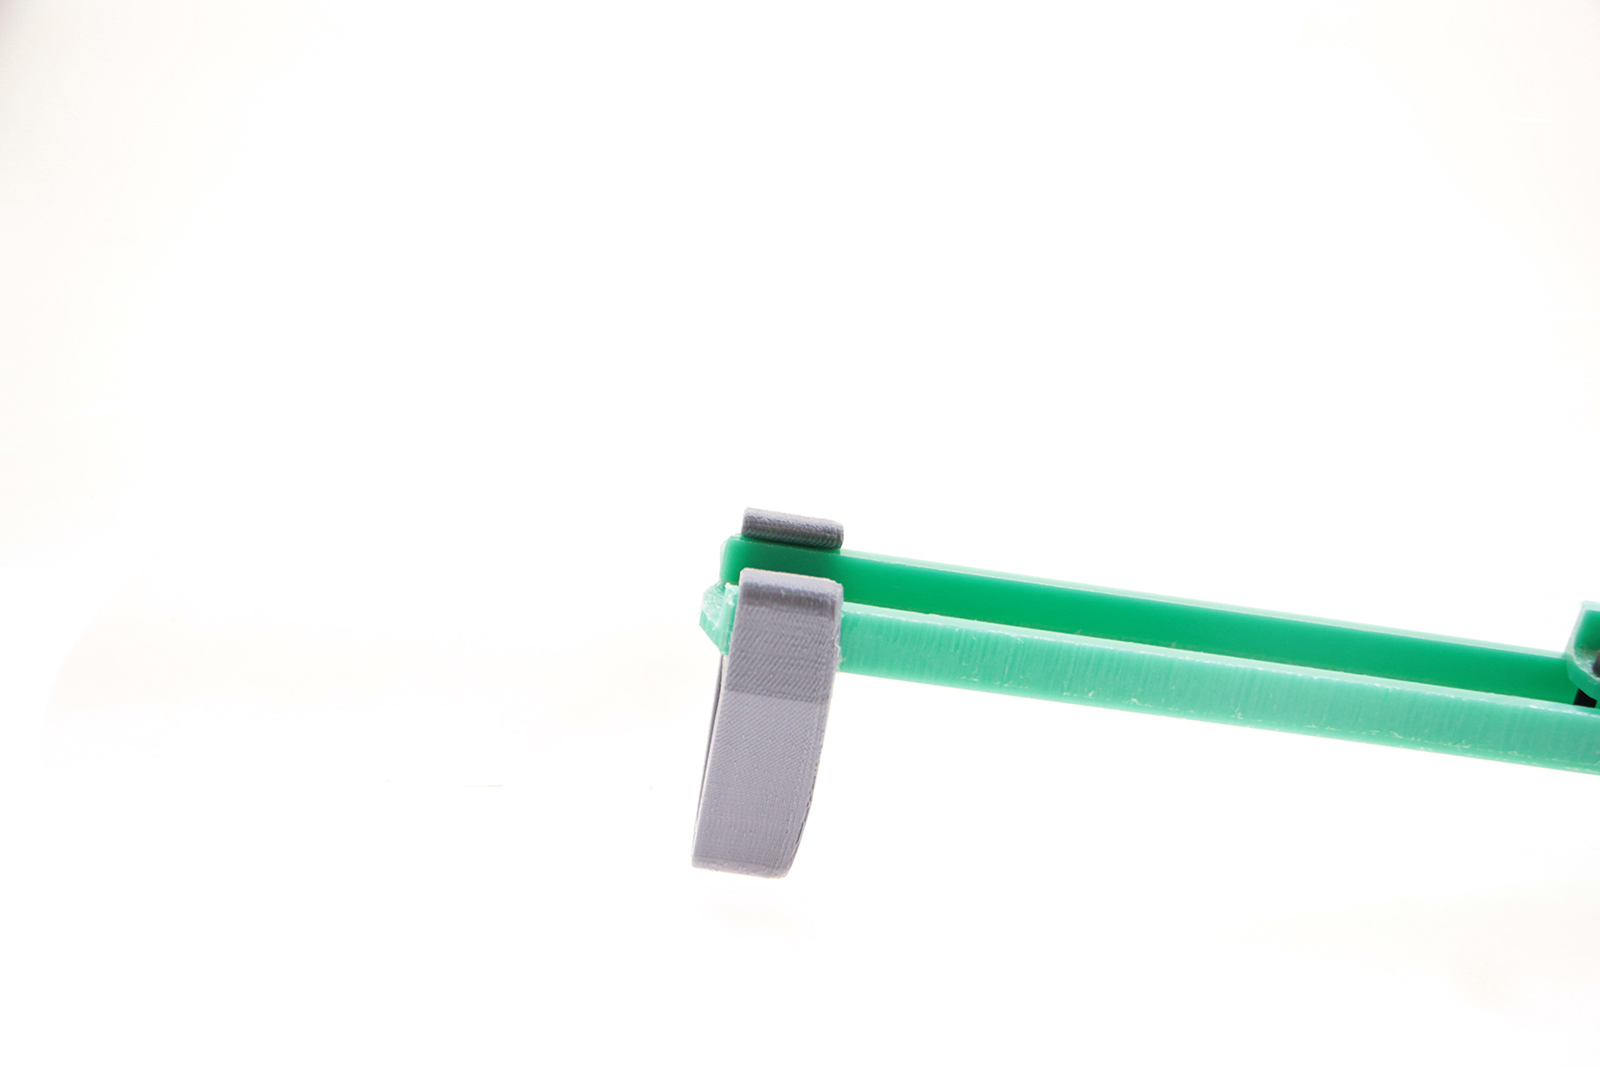
Move the position of the landing leg until the position you like, we recommend as close to the motor as possible.
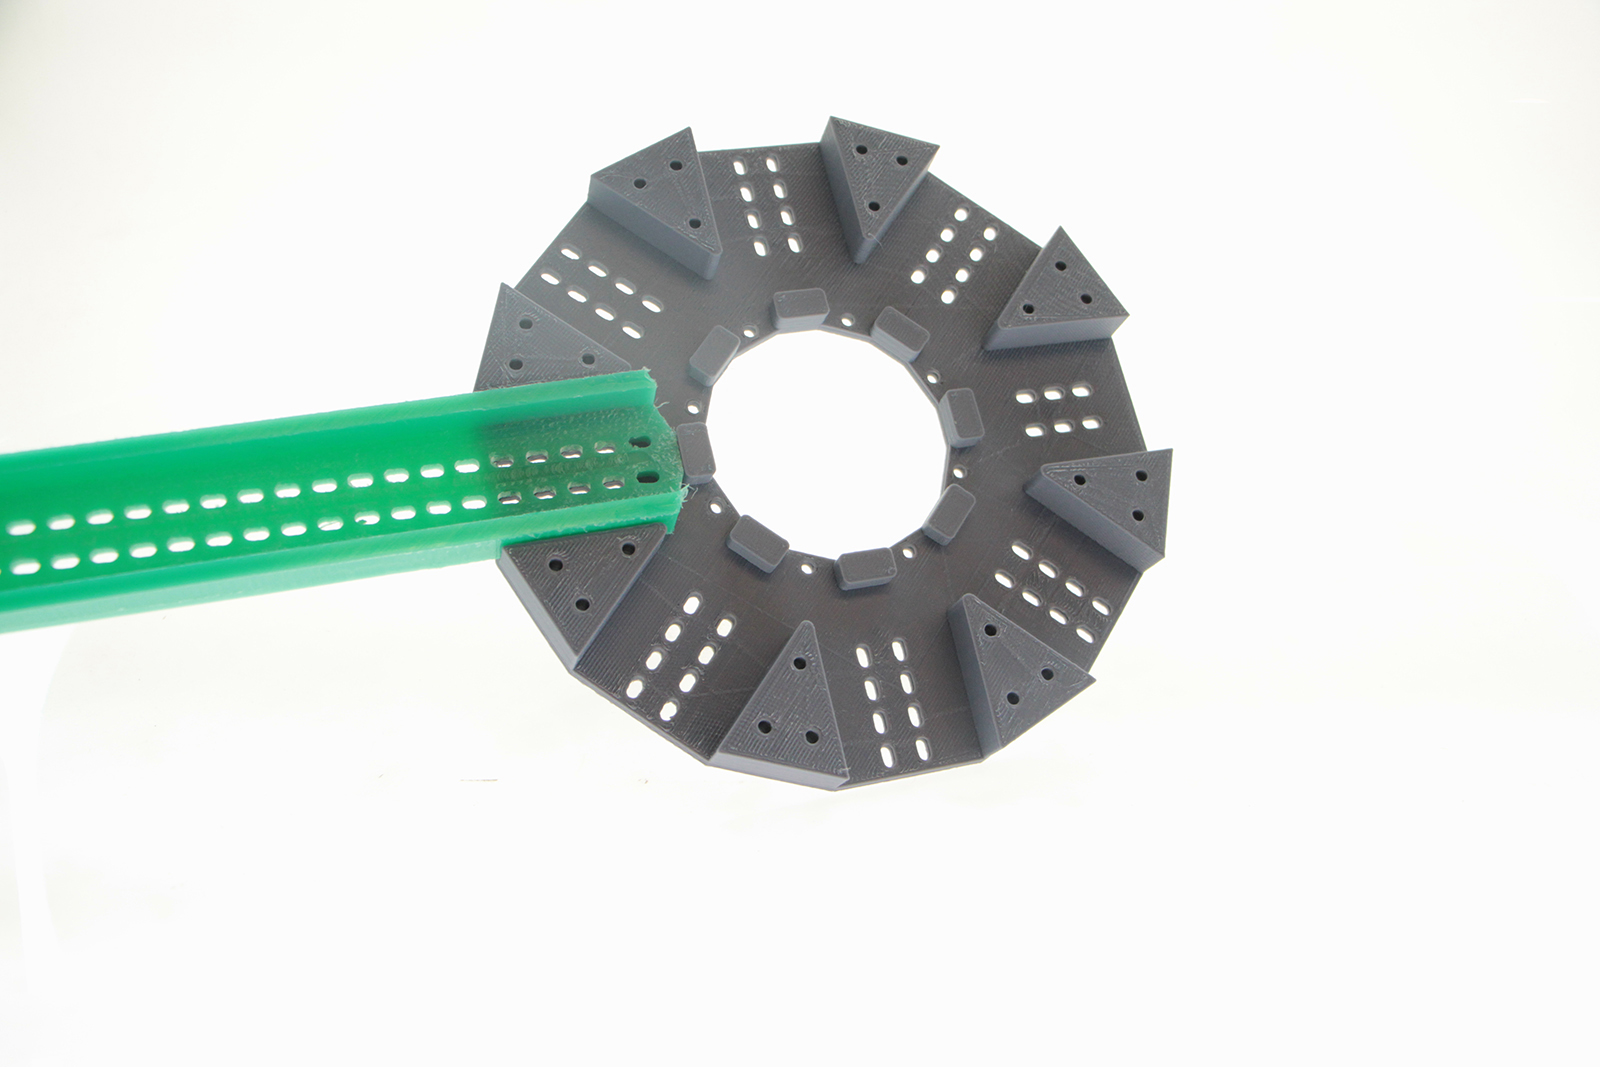
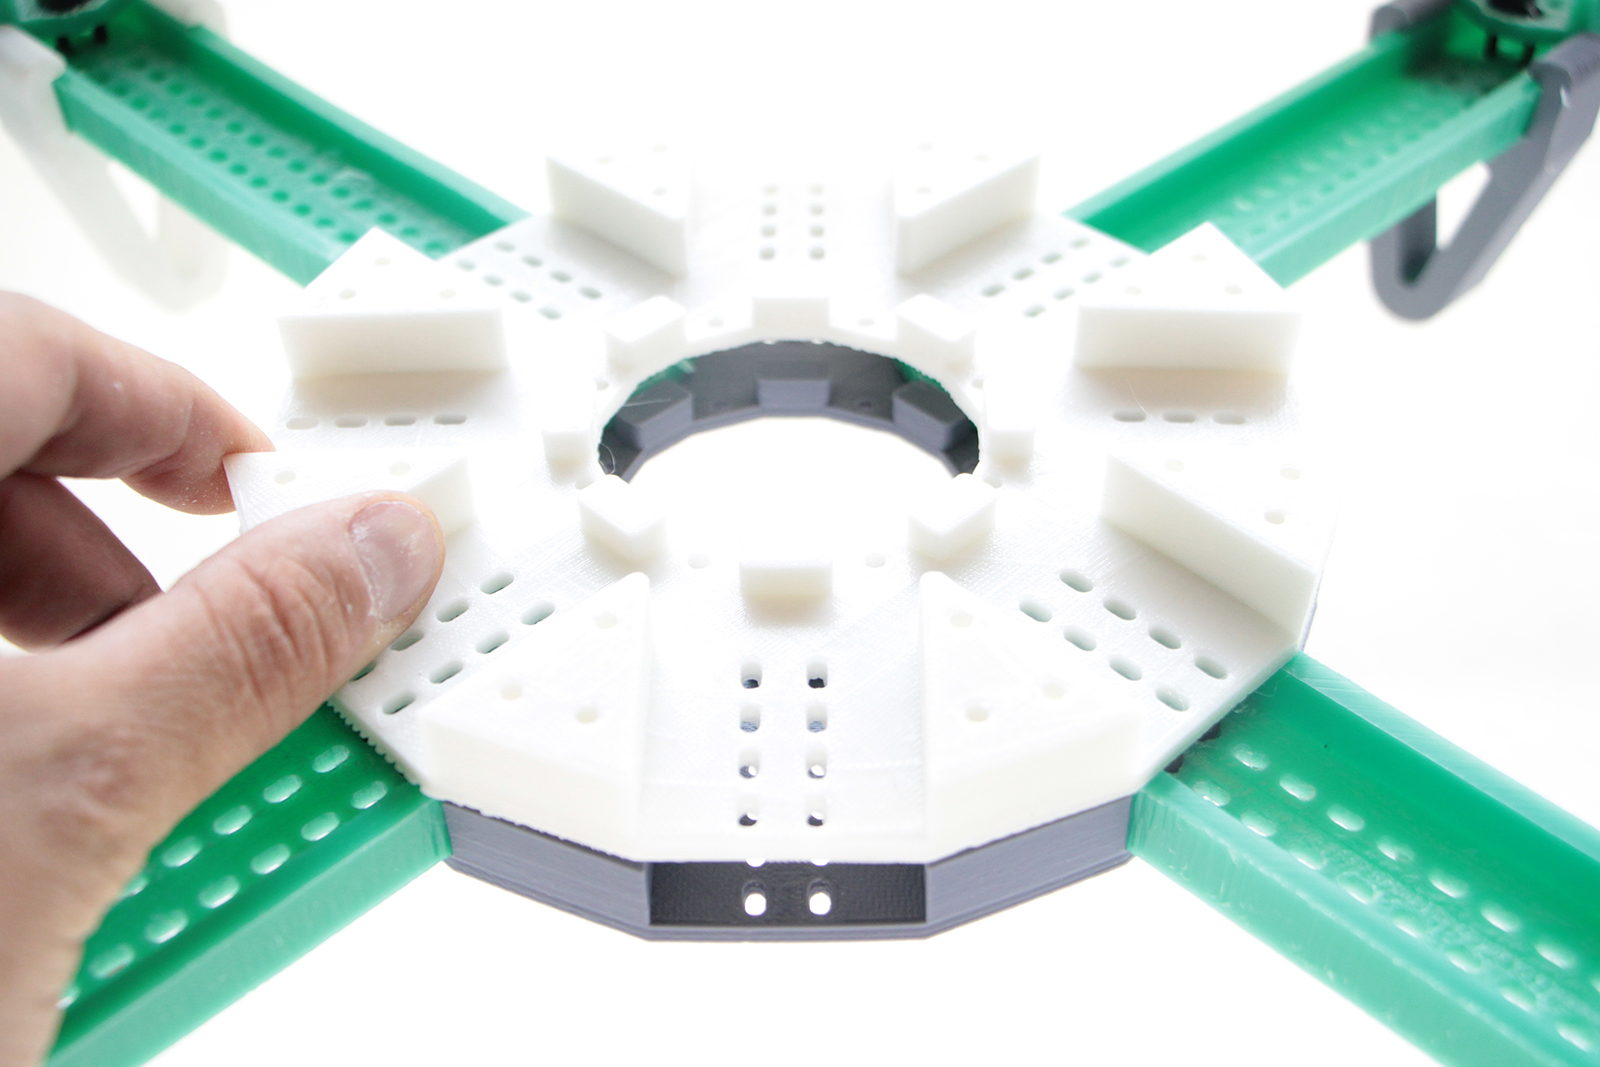
Precheck that the arm fits inside the central core and place the rest of the arm to the desired configuration.
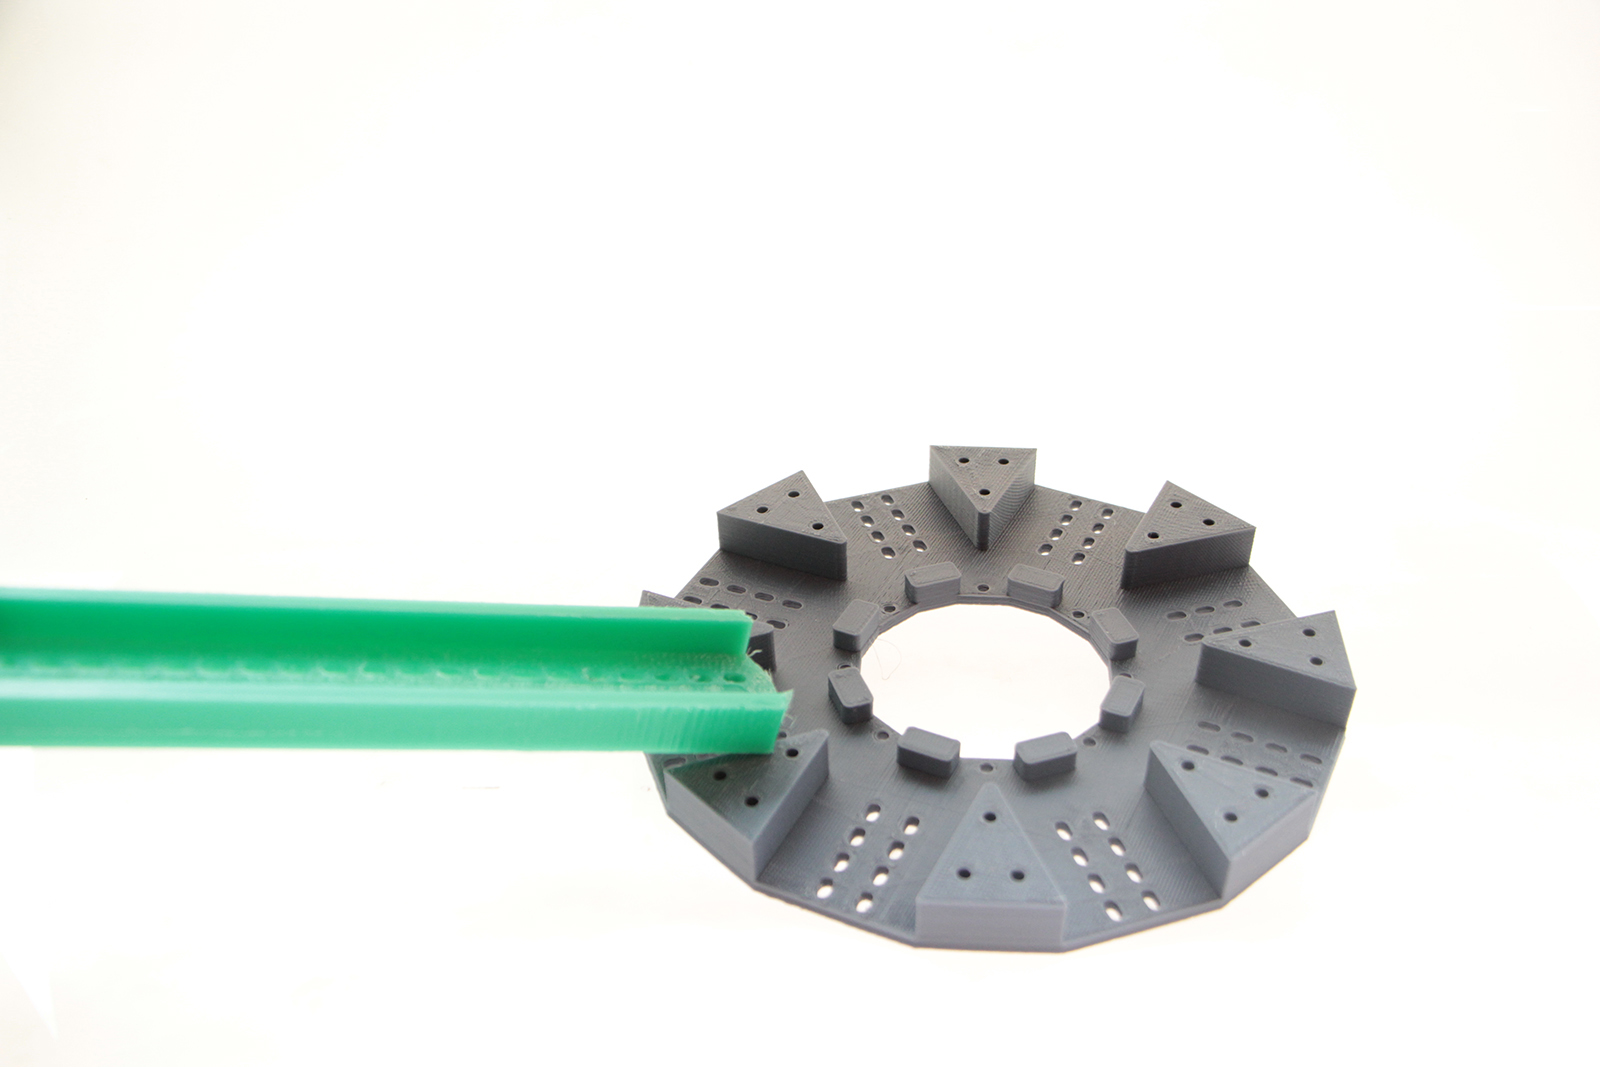
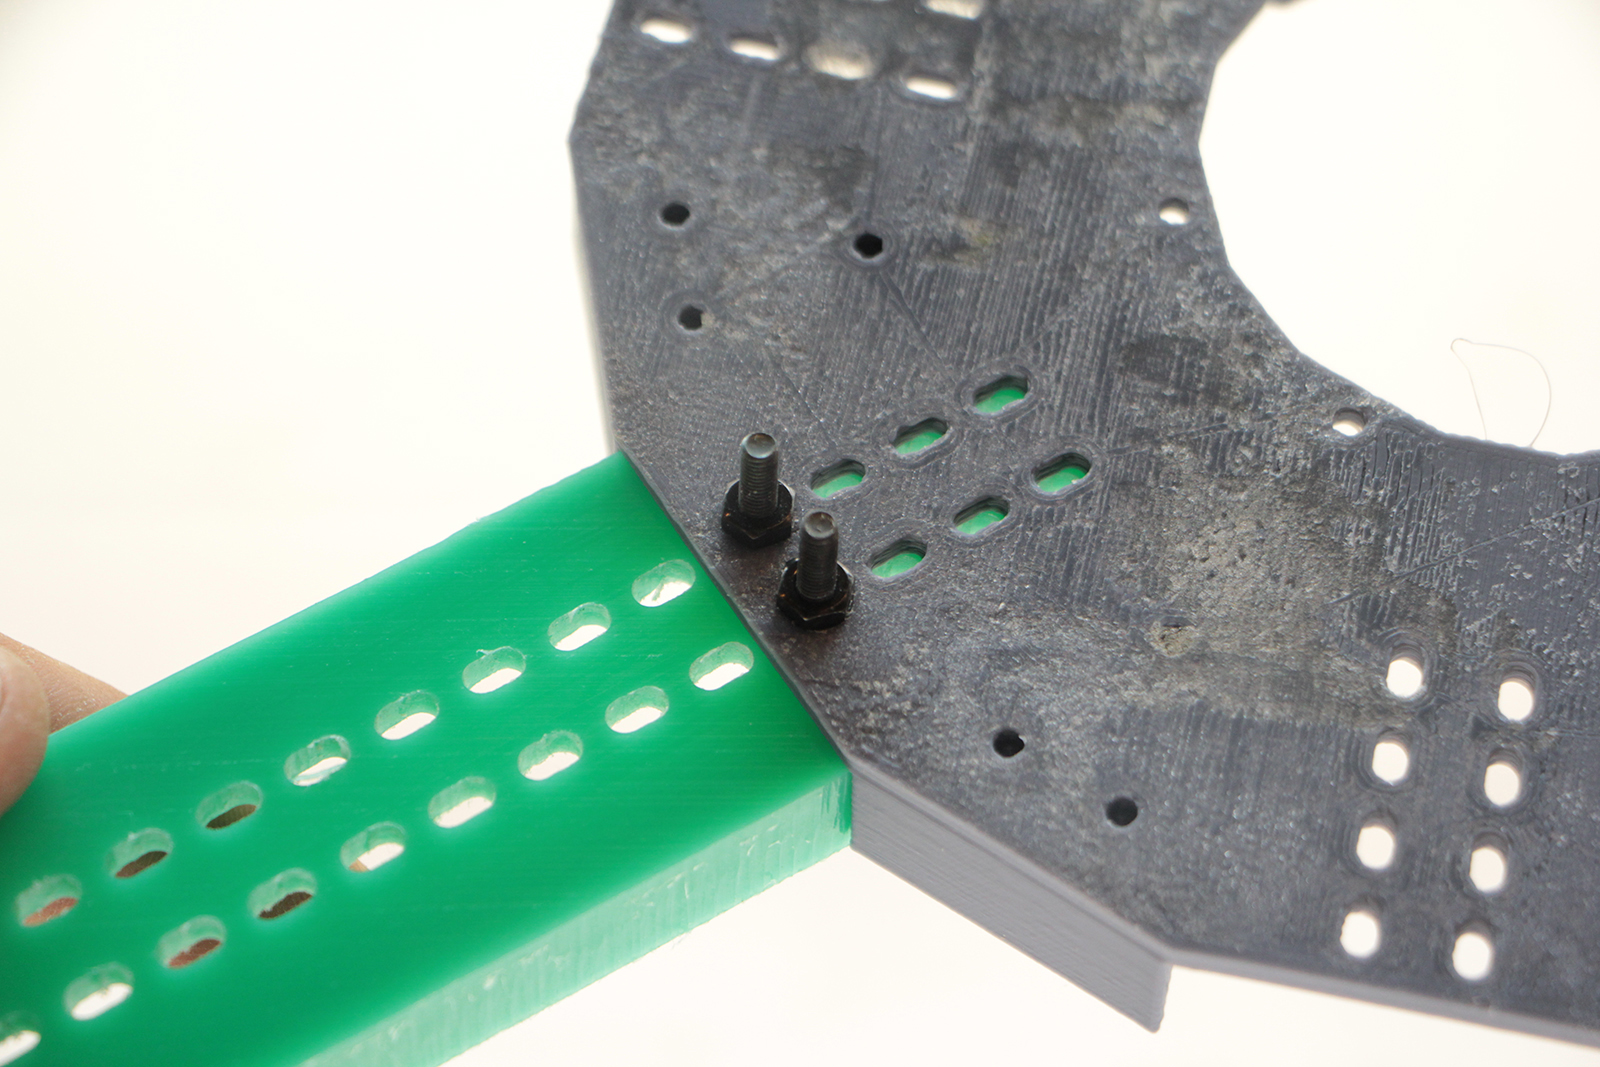
Hold the arm in place and match the holes for the first screws
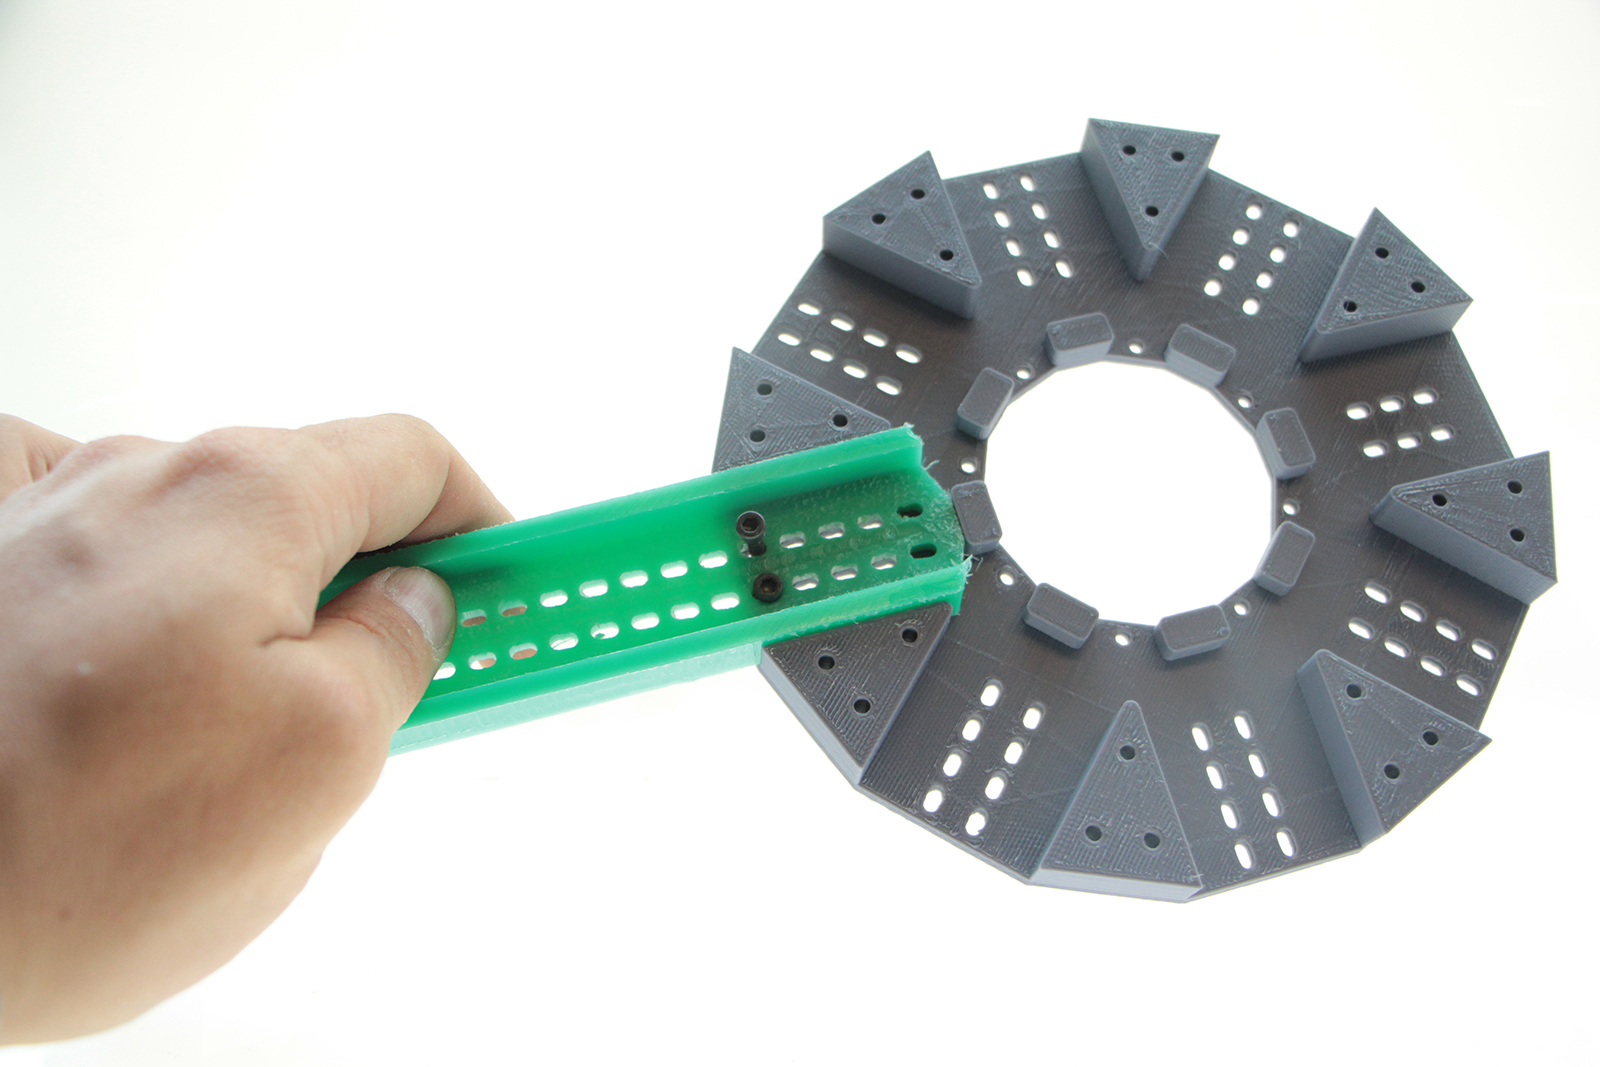
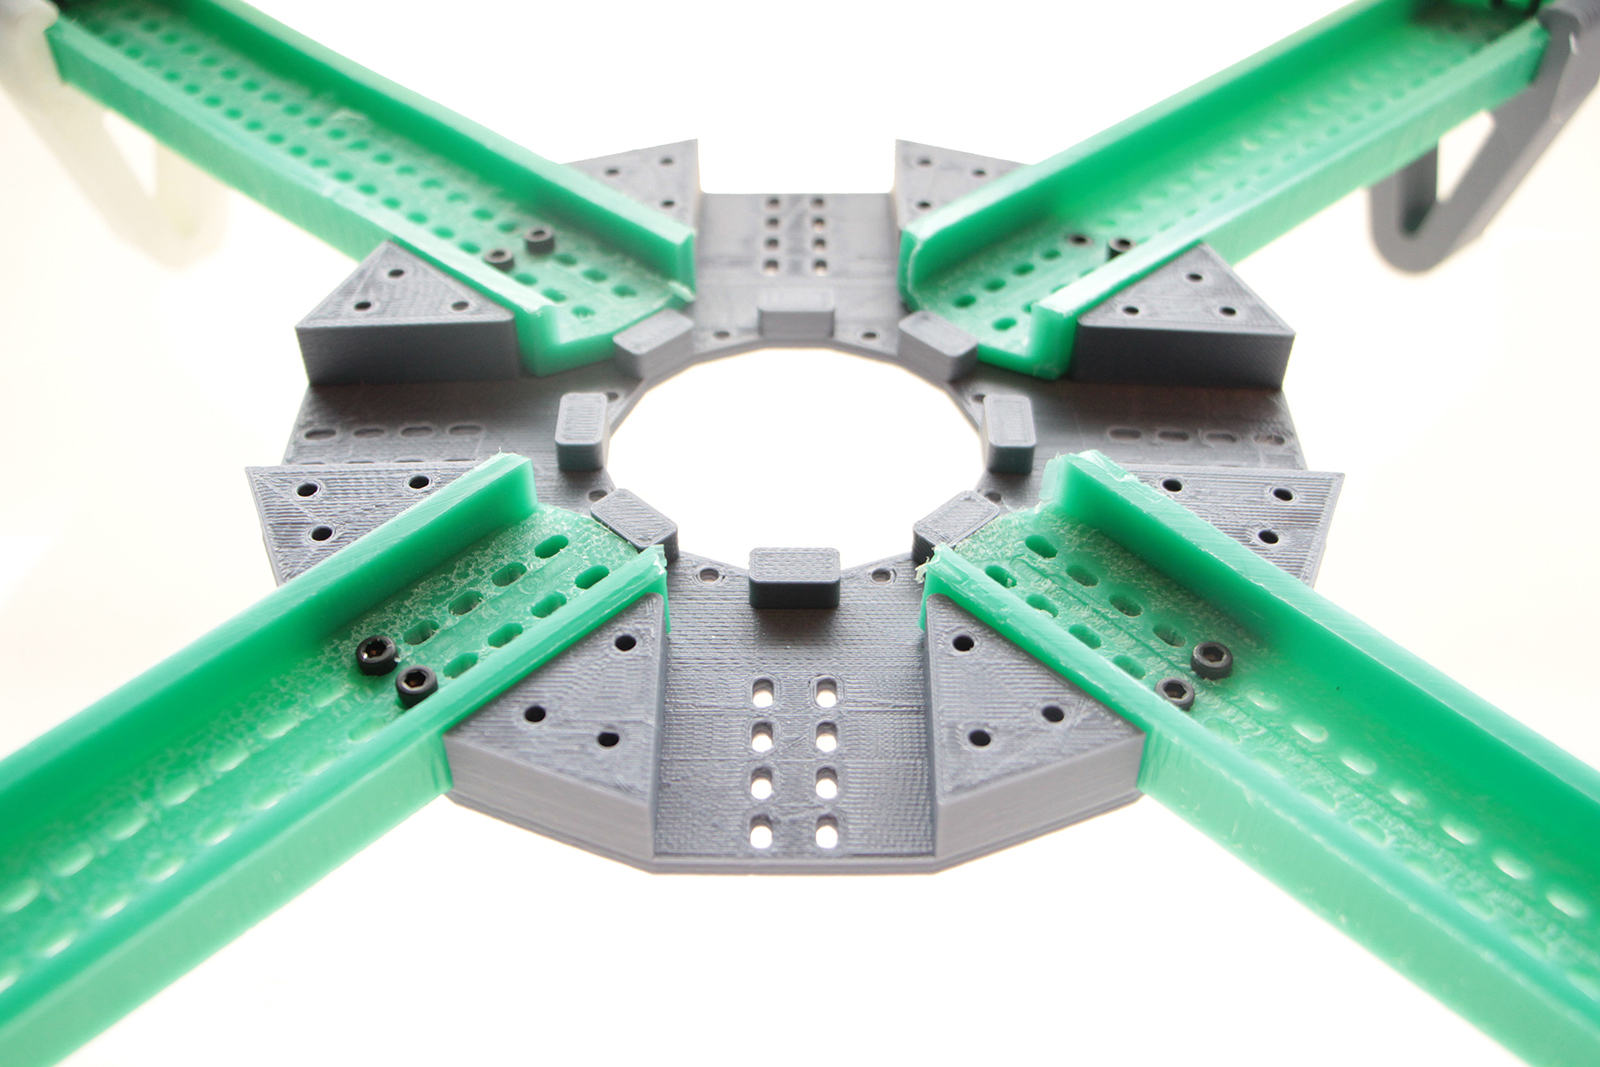
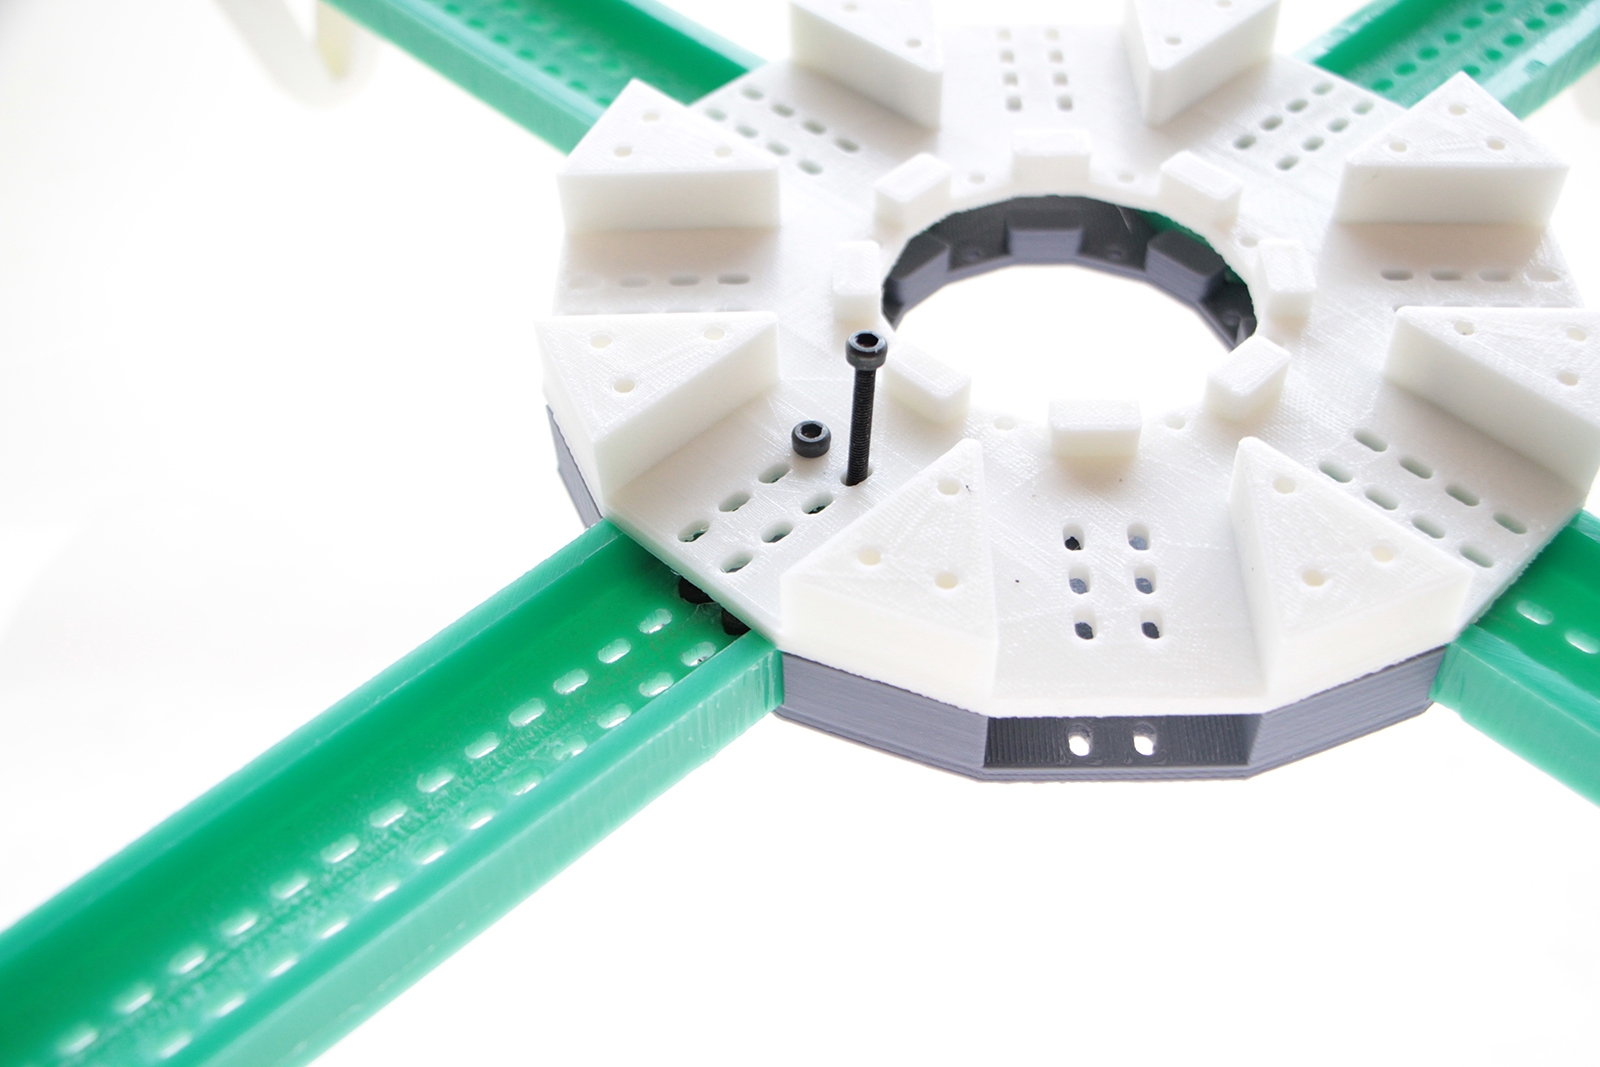
Place all the arm in place. Remember to place the motors with the same color oposite from each other.
Introduce each type by each hole and leave at least 15 cm of lenght.

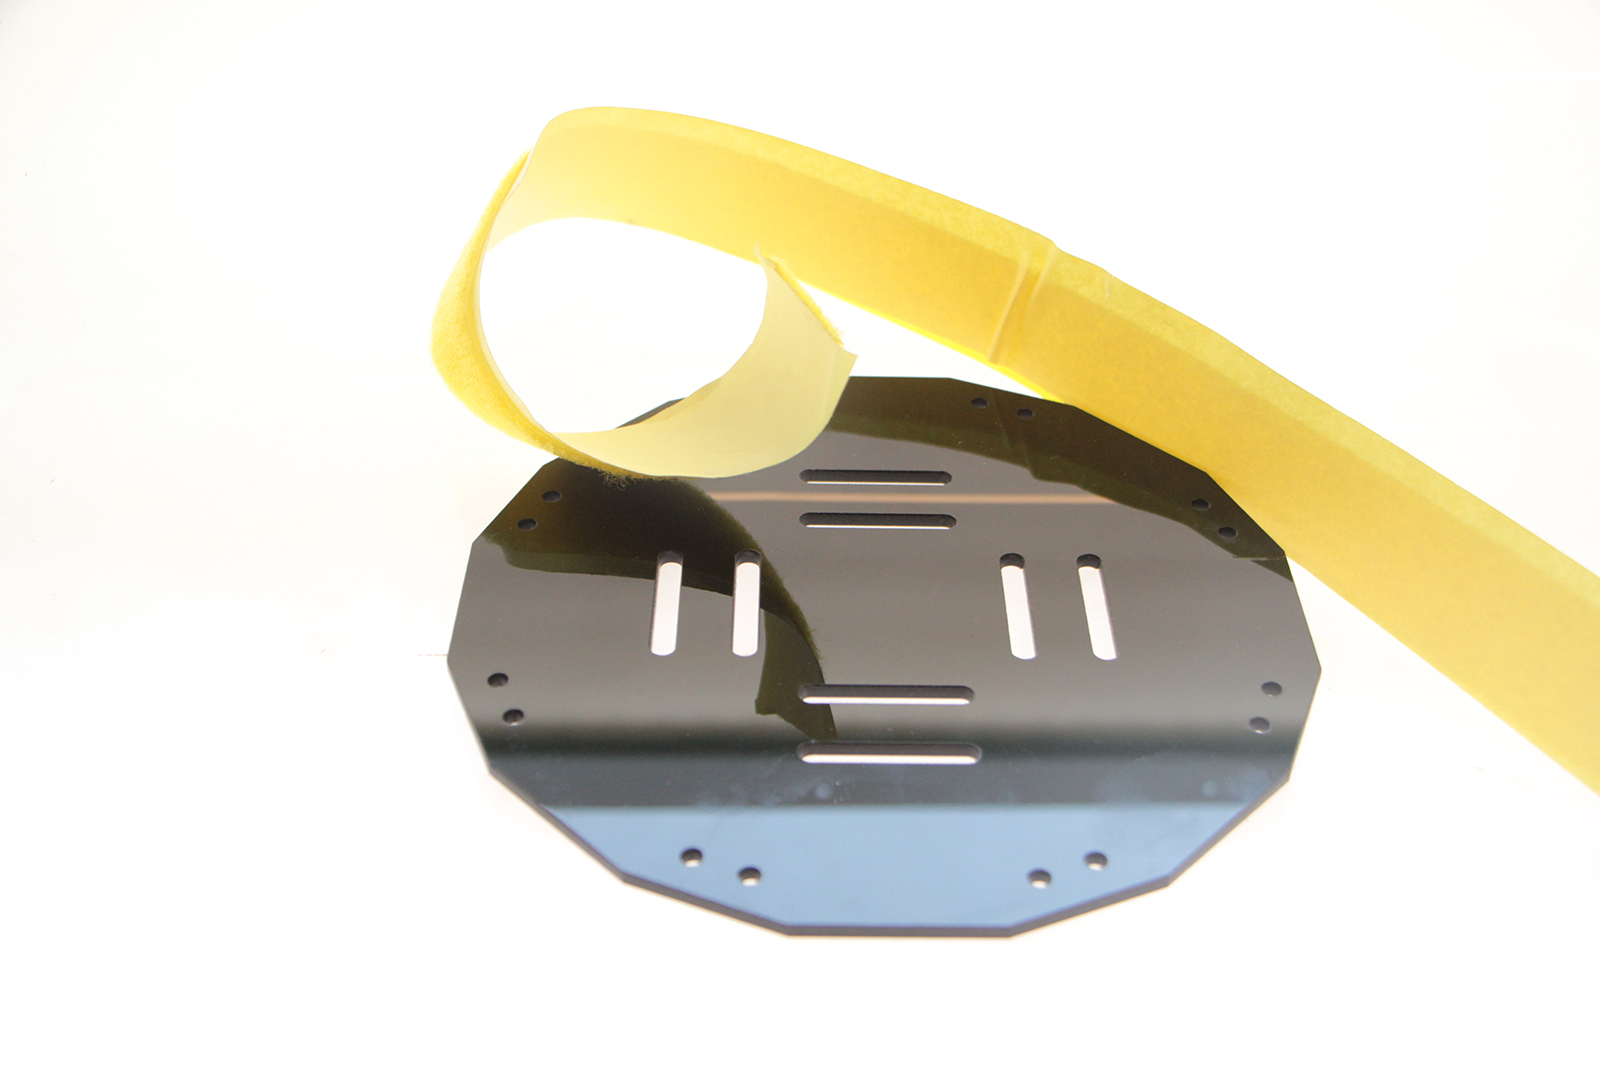
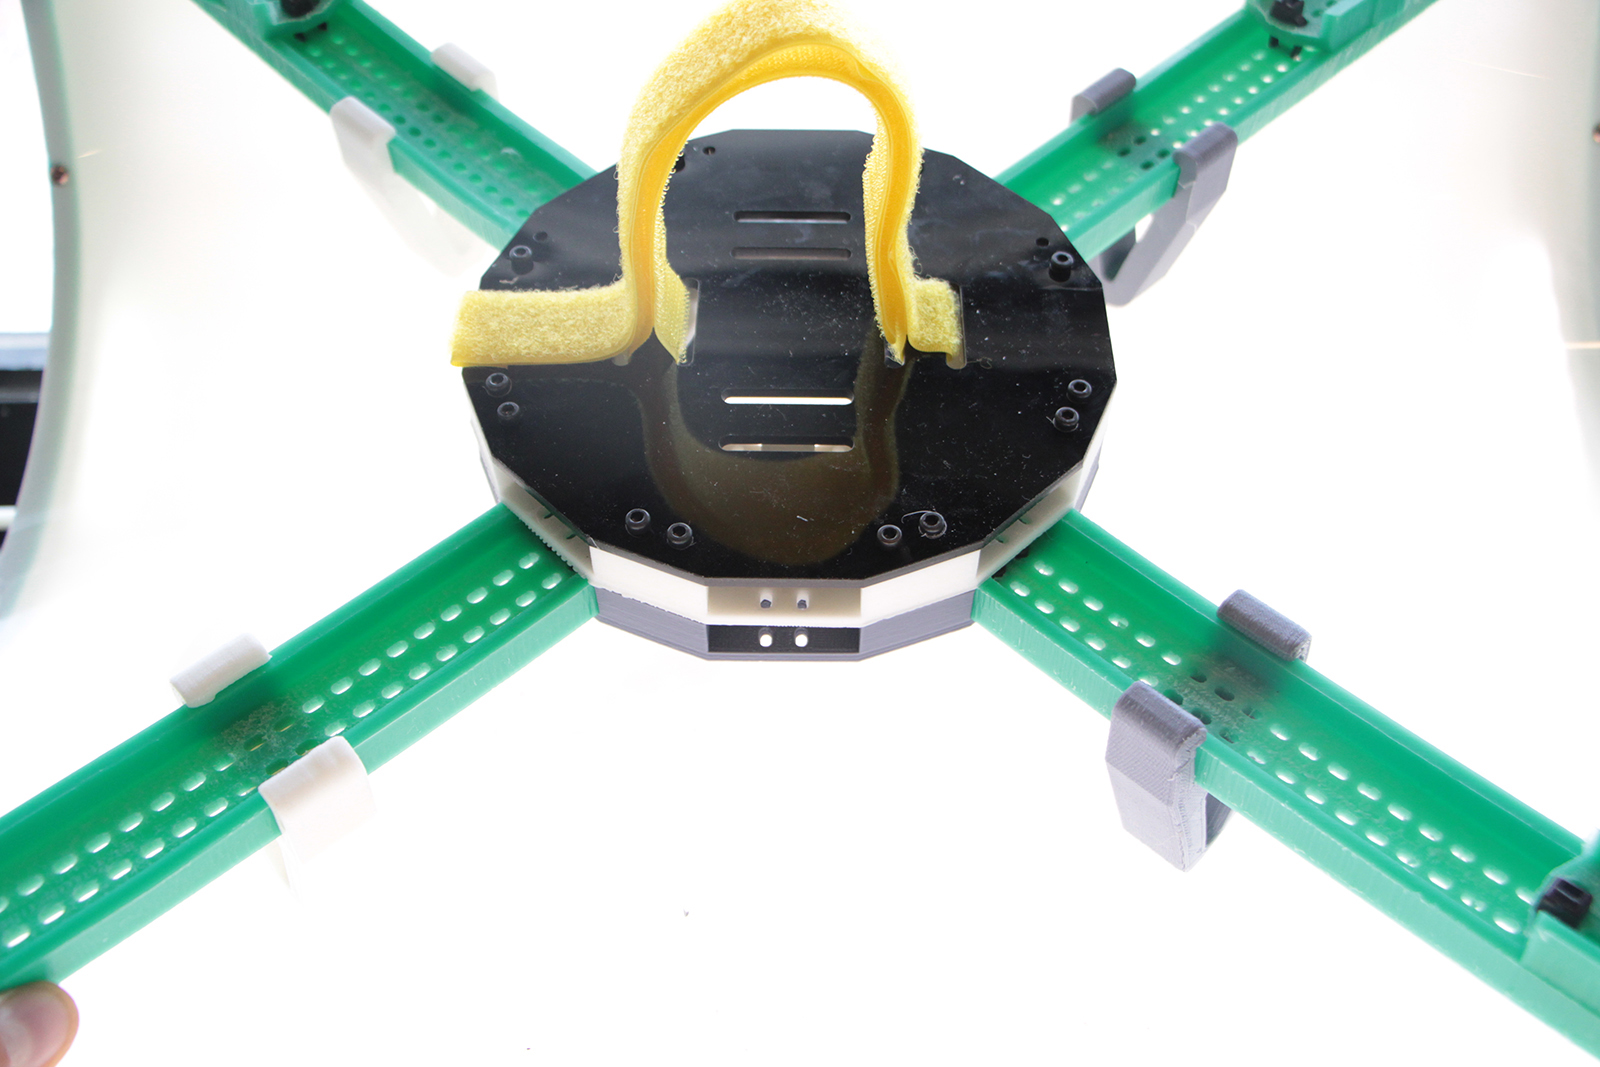
Take away the paper and glue both together.Now we have already our battery holder in place!

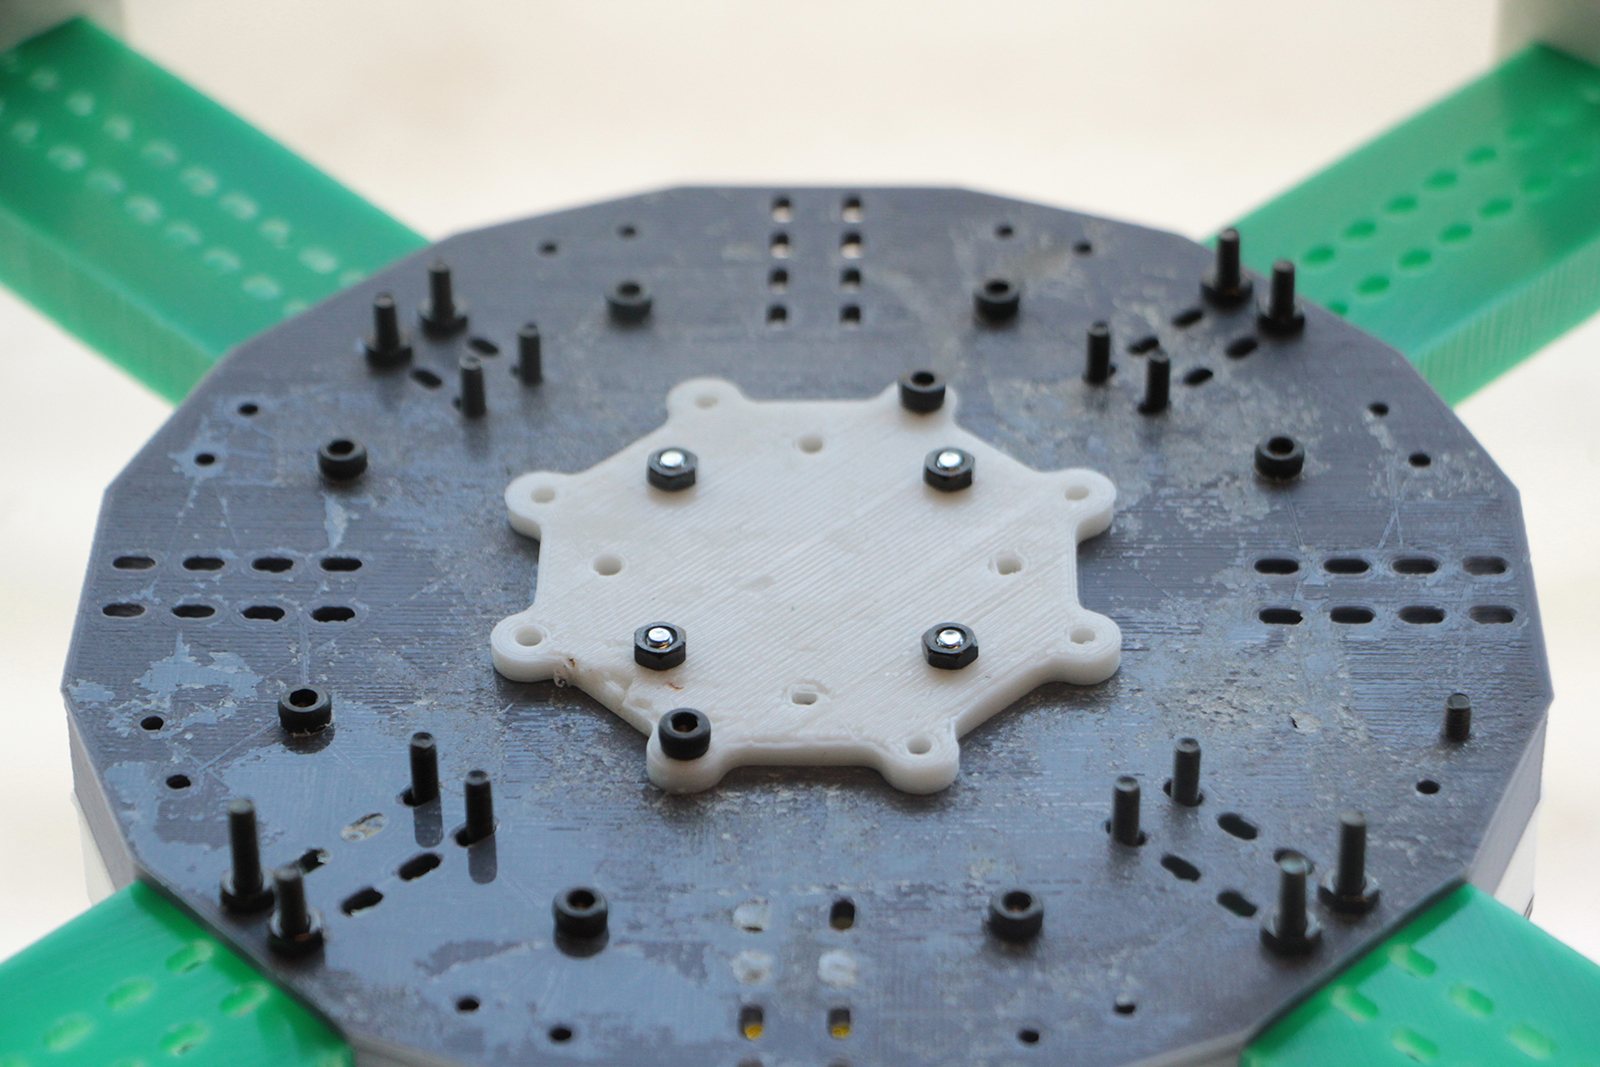
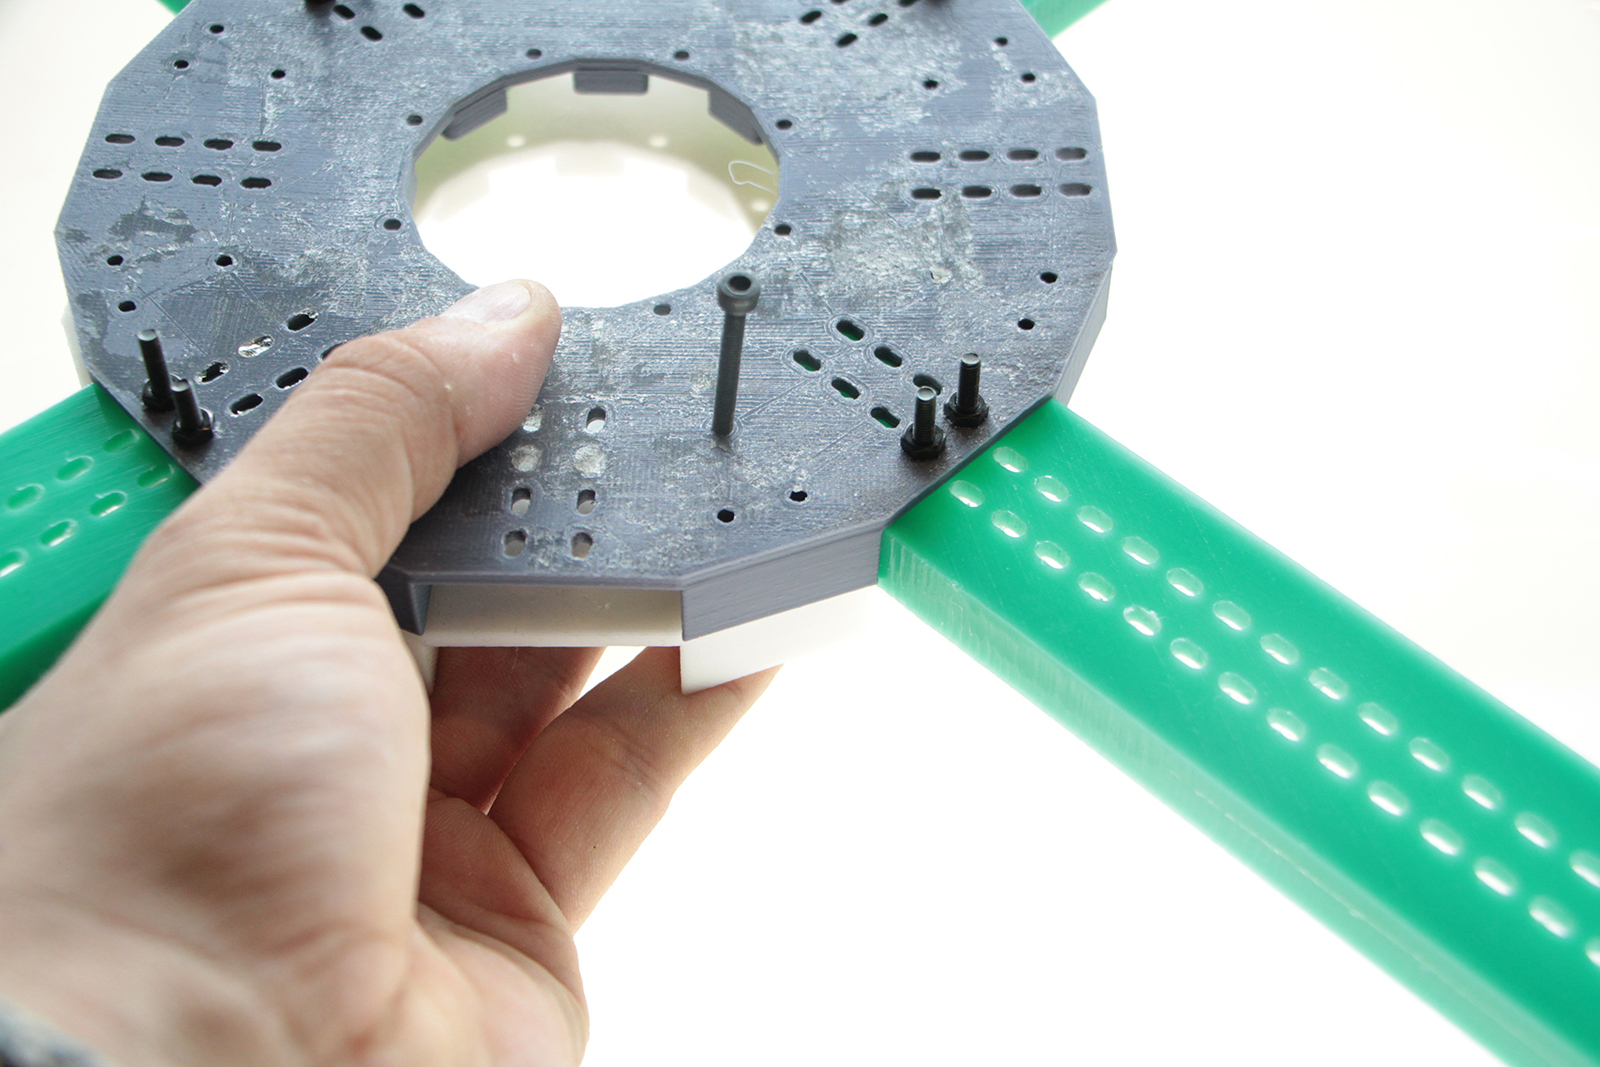
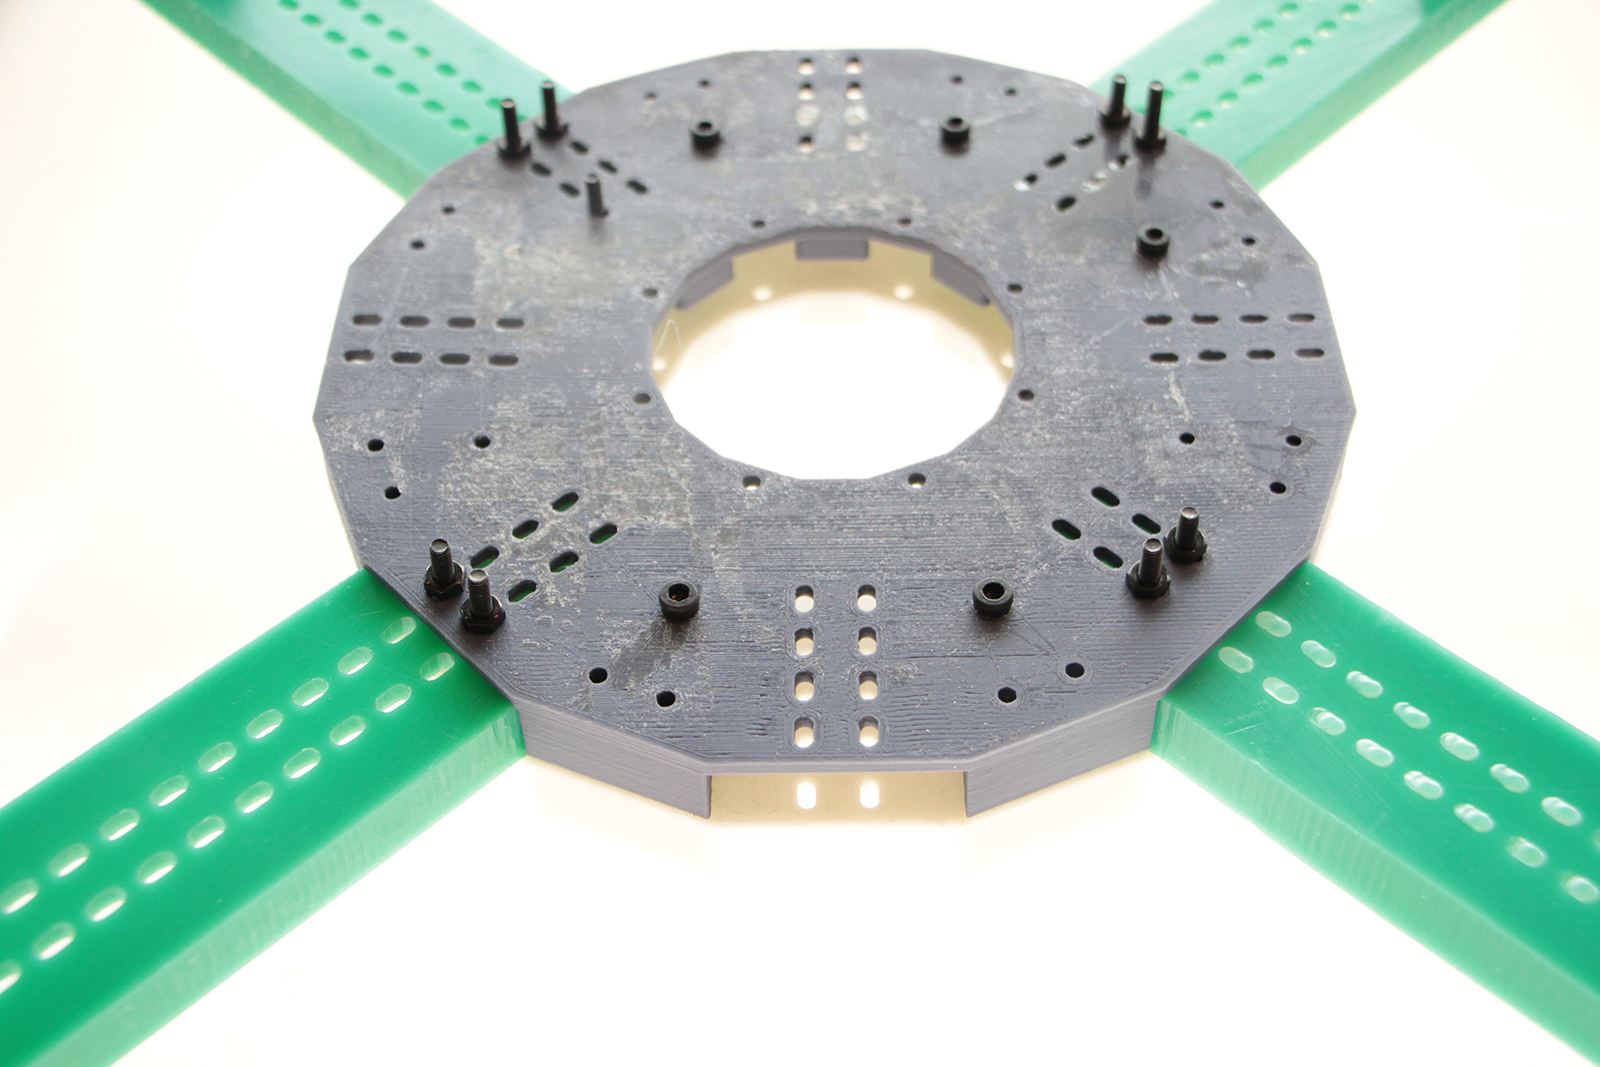
Place on the top and screw it using all the holes.
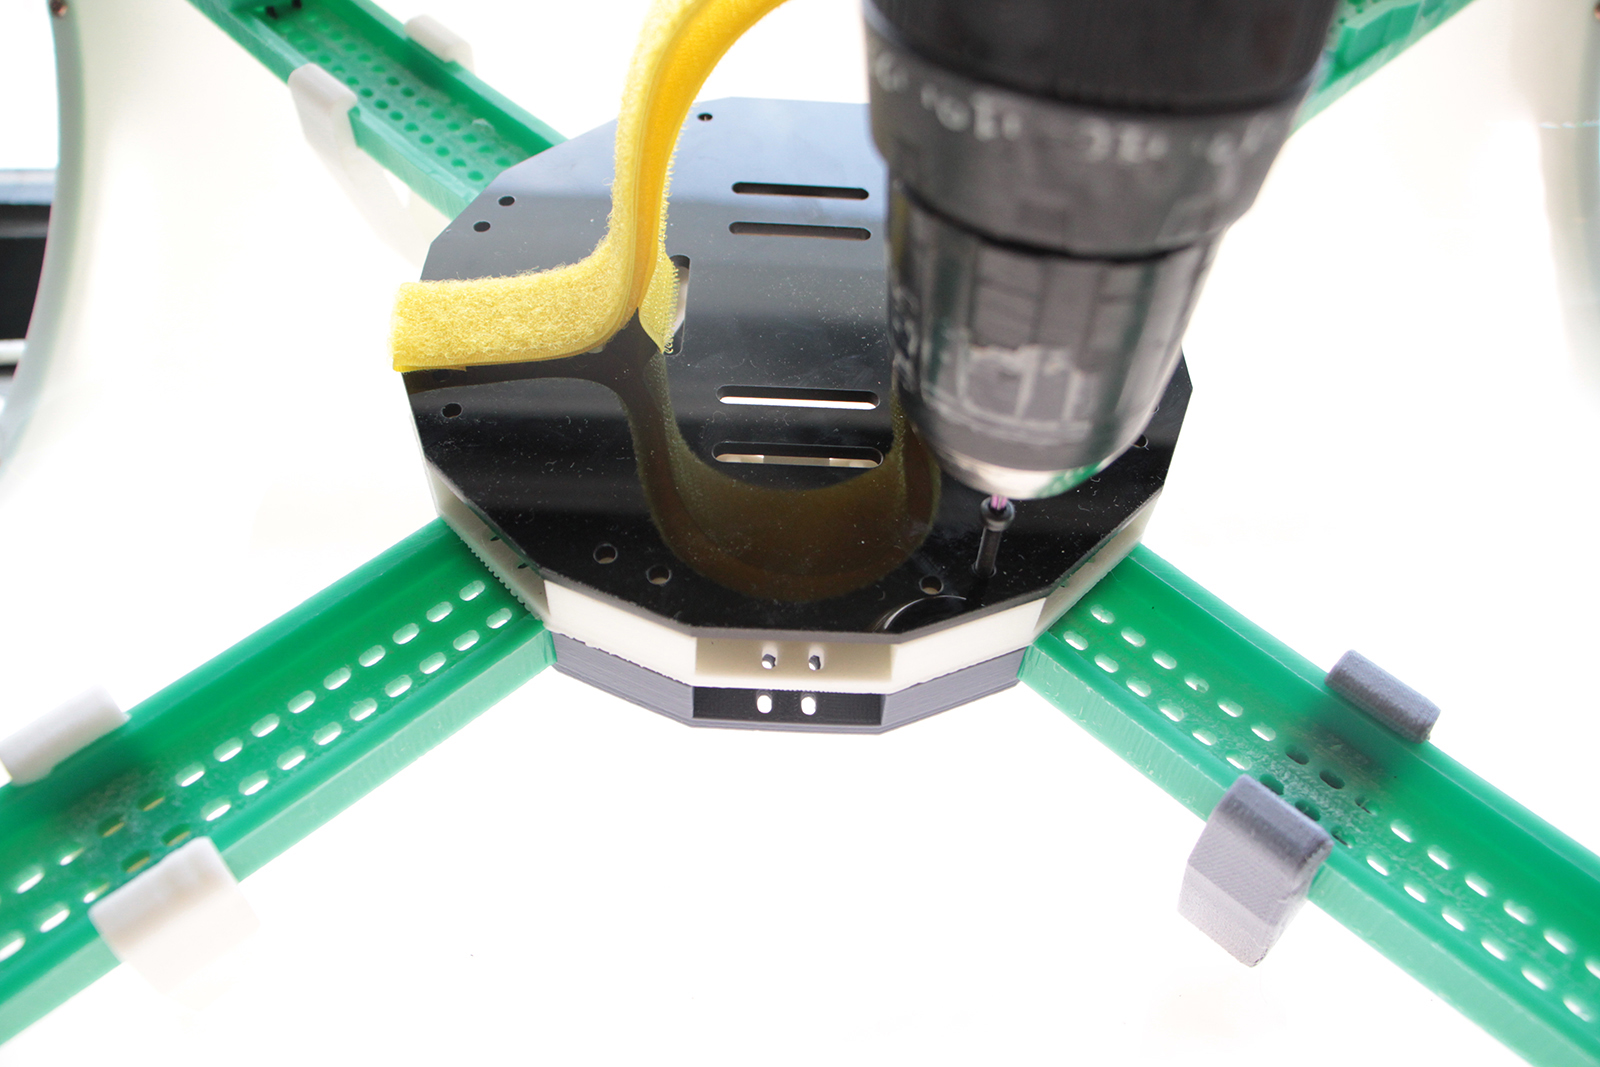
The screws should be long enought for grabbing the 3 plates together to make a strong core.
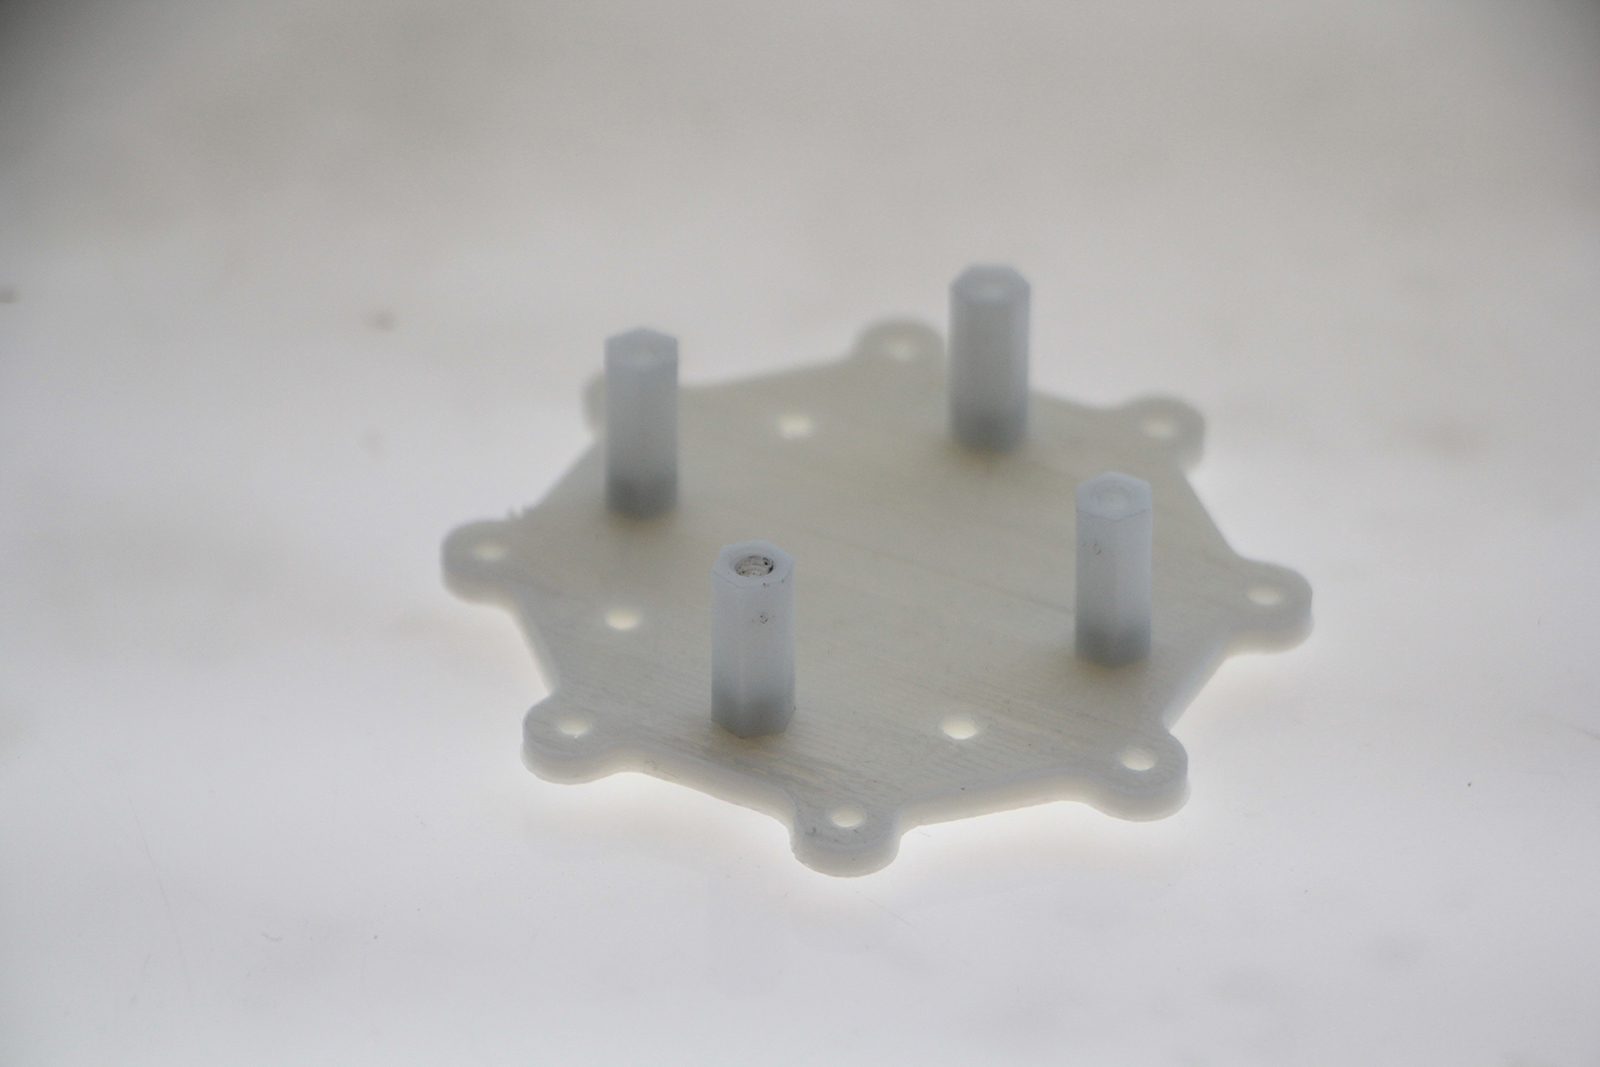
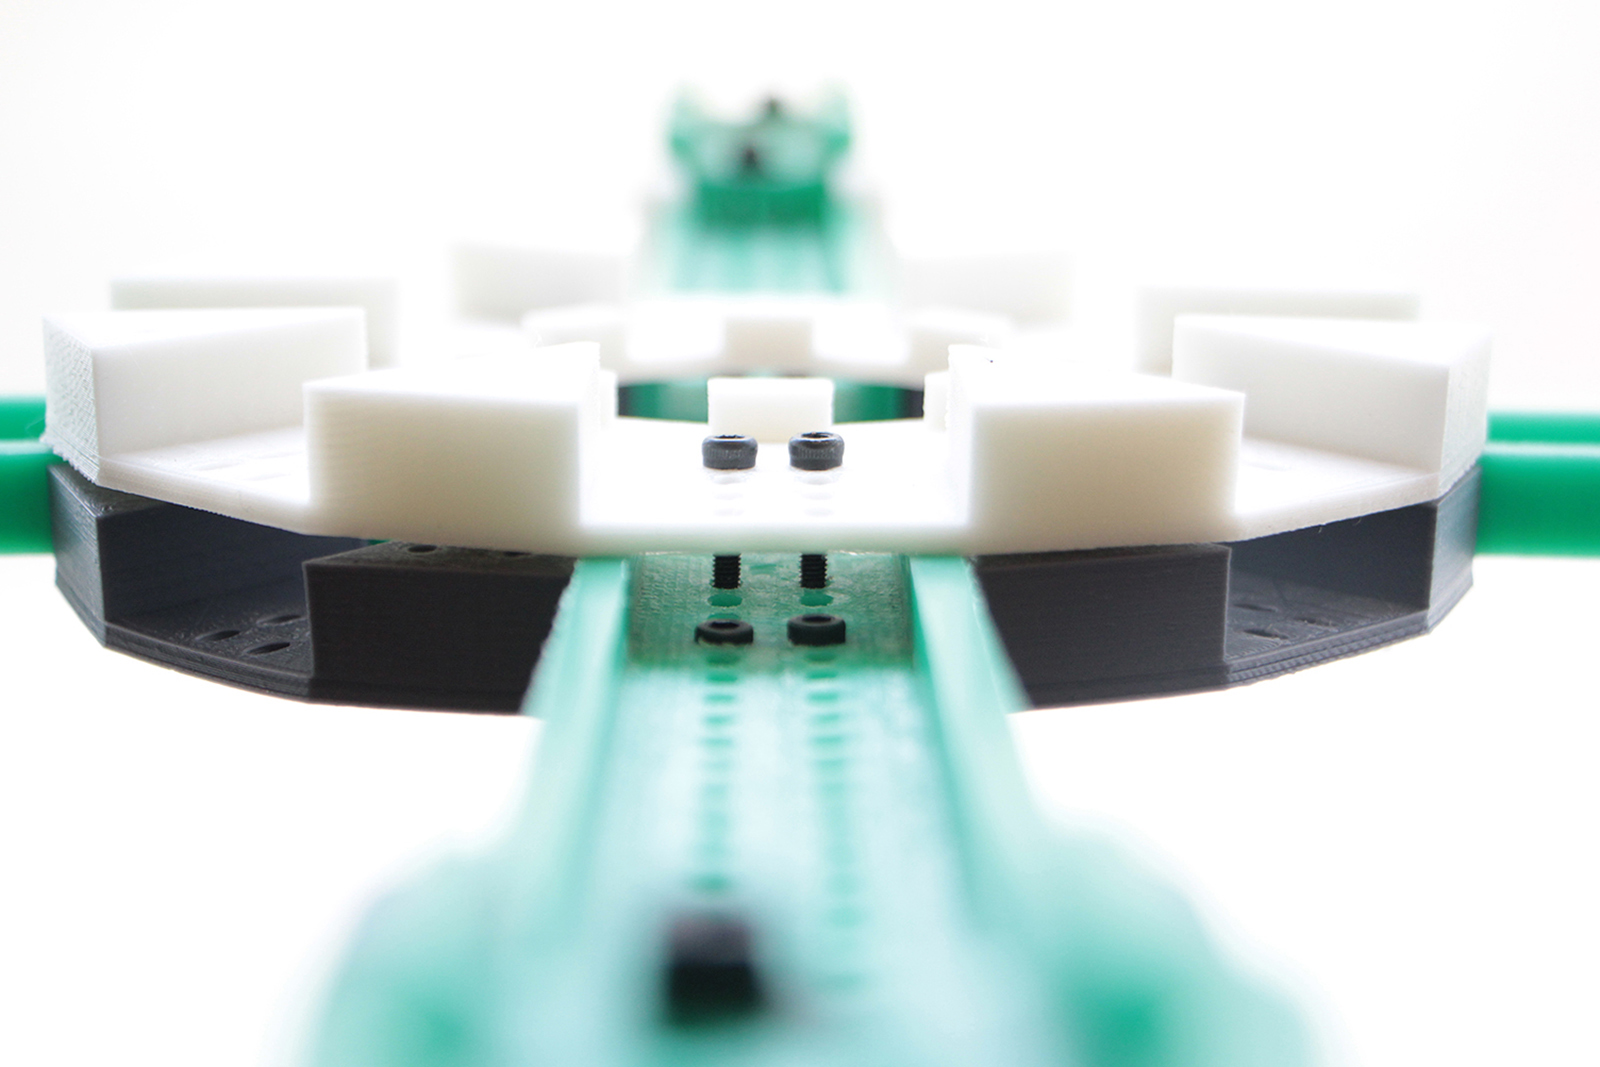
Now lets assemble the flight controller mount,take the small center piece and mount the soft nylon mount on it making an square shape
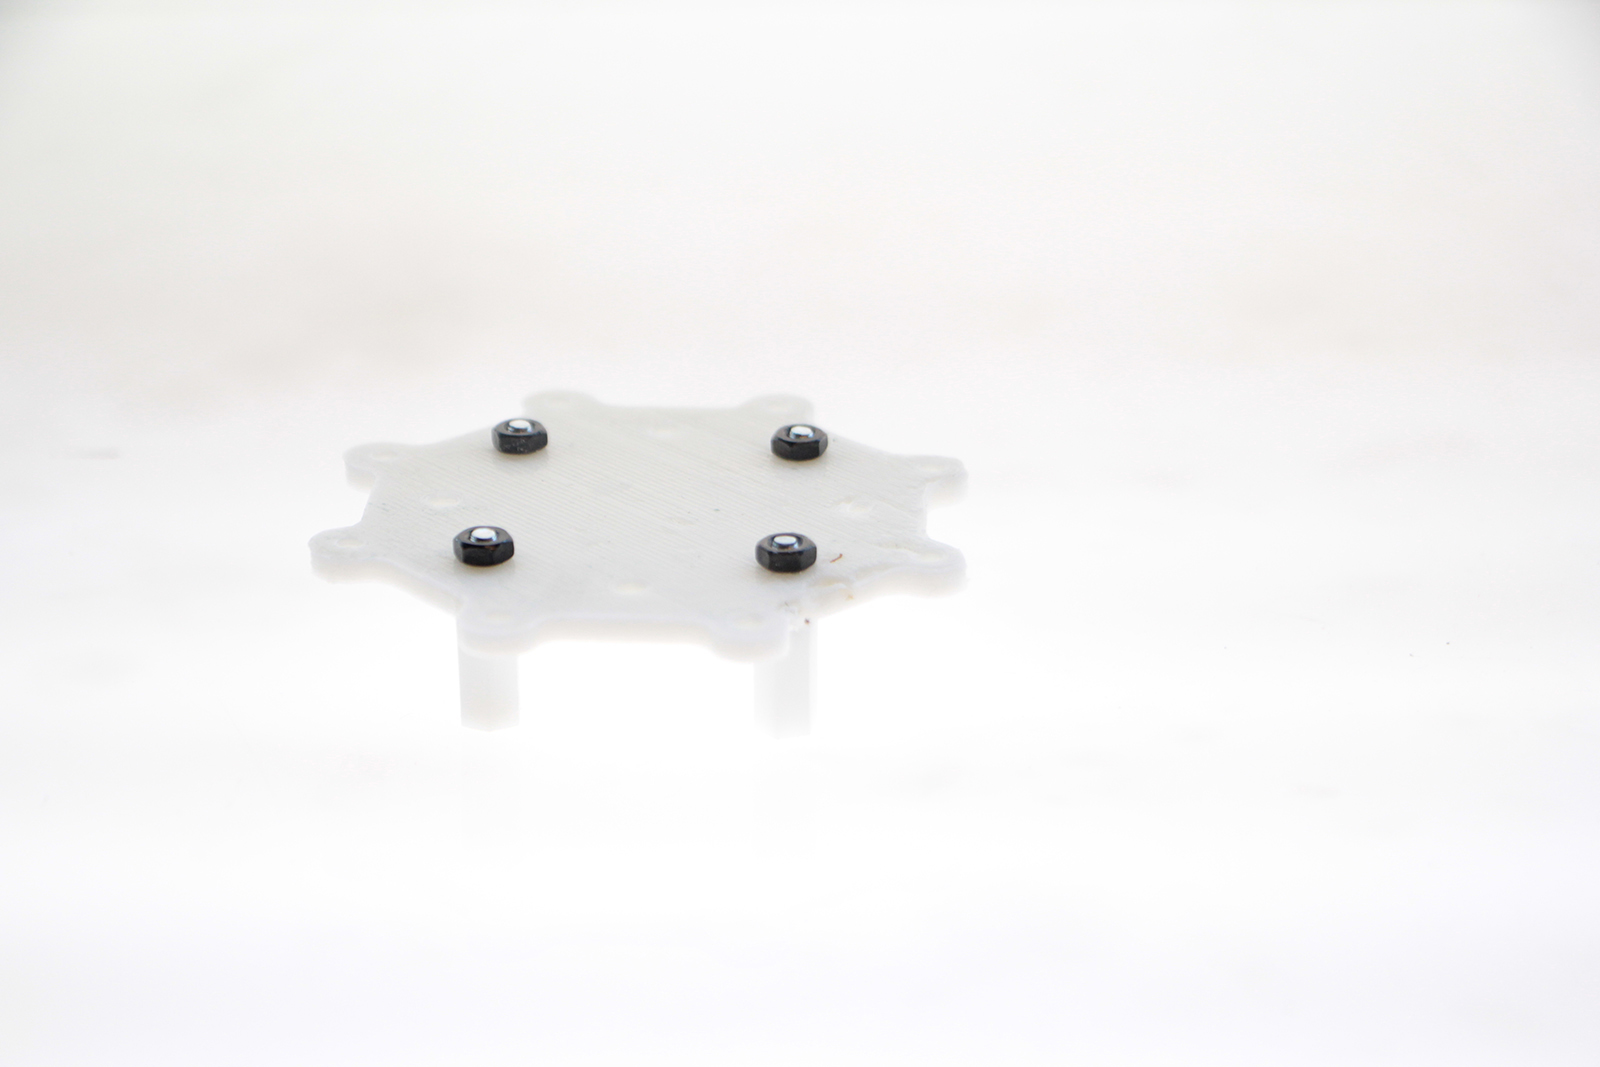
Use nuts on the back to keep them in place.
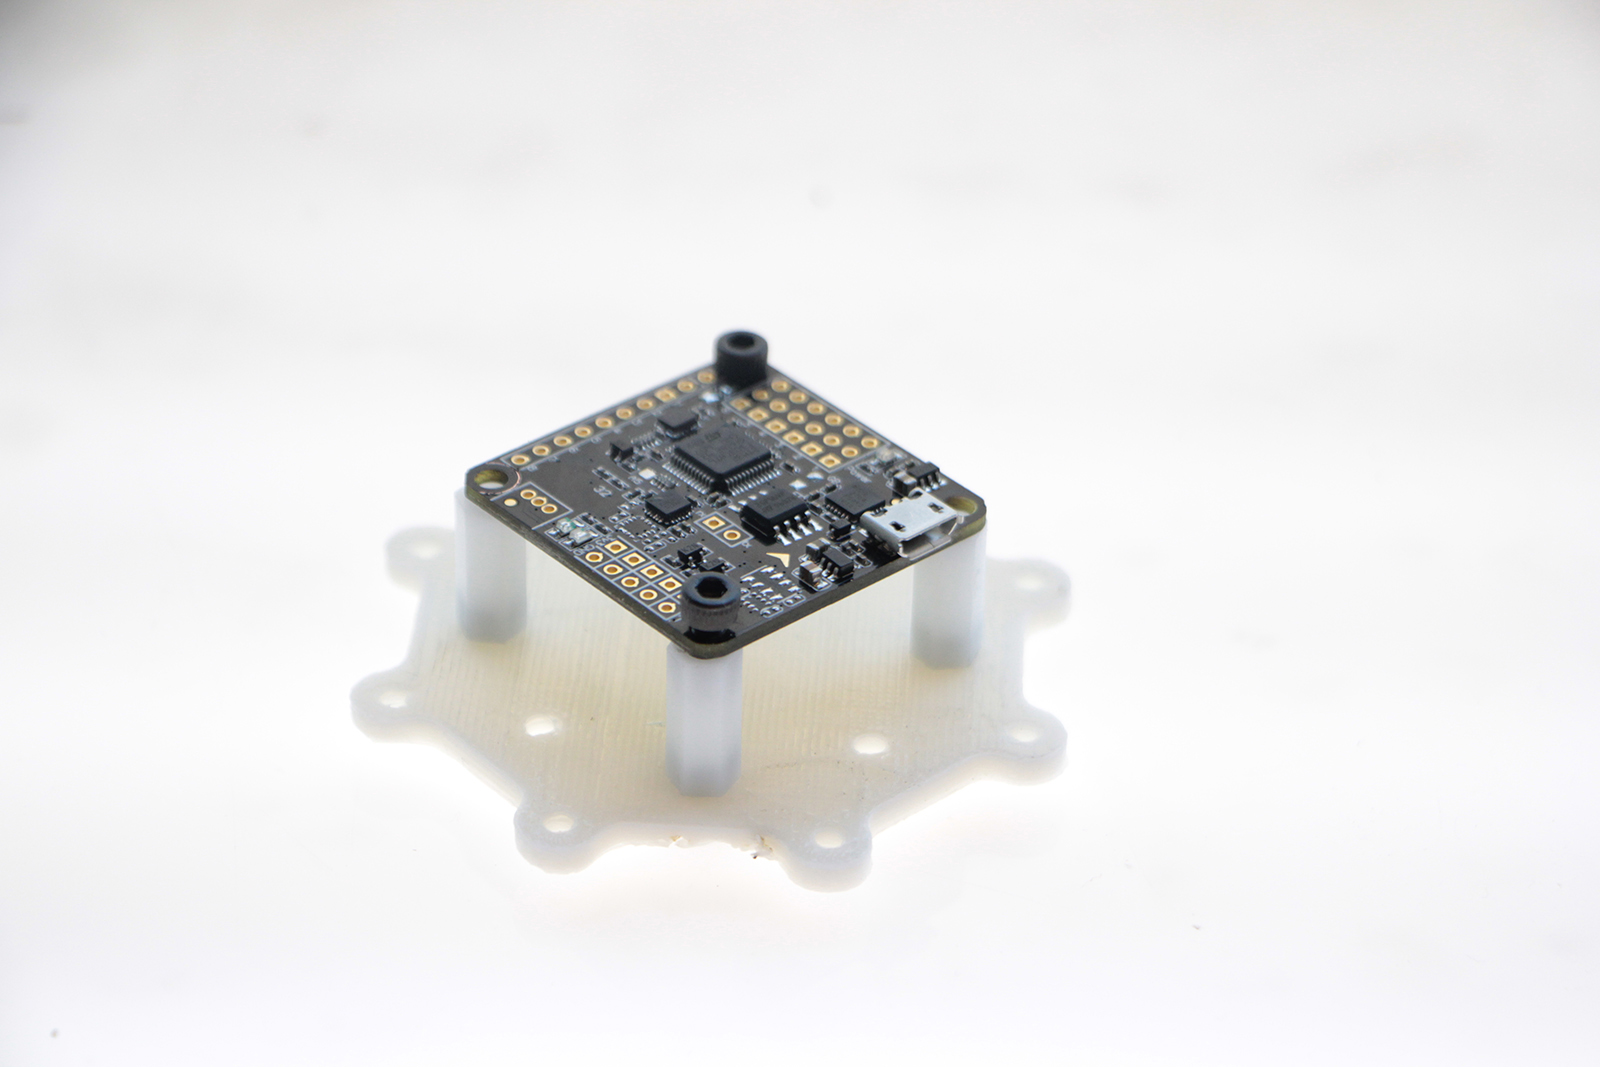
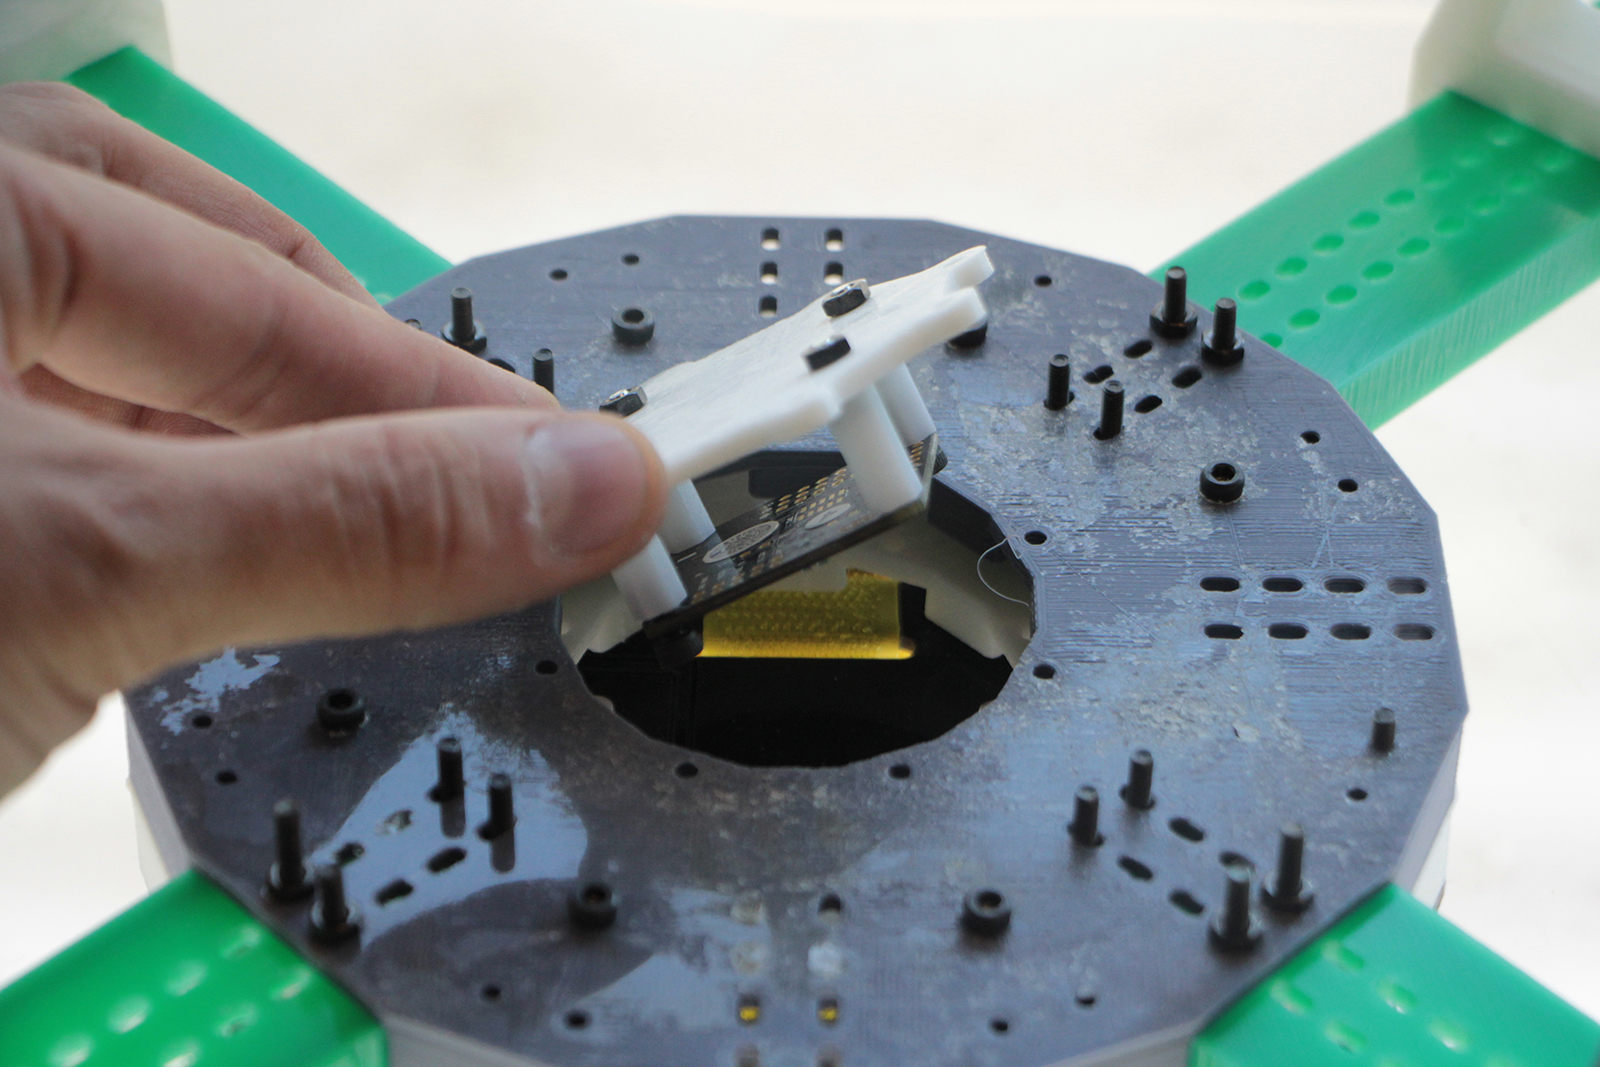
Mount the flight controller, be carefull and mount it slowly it is a very sensible component.
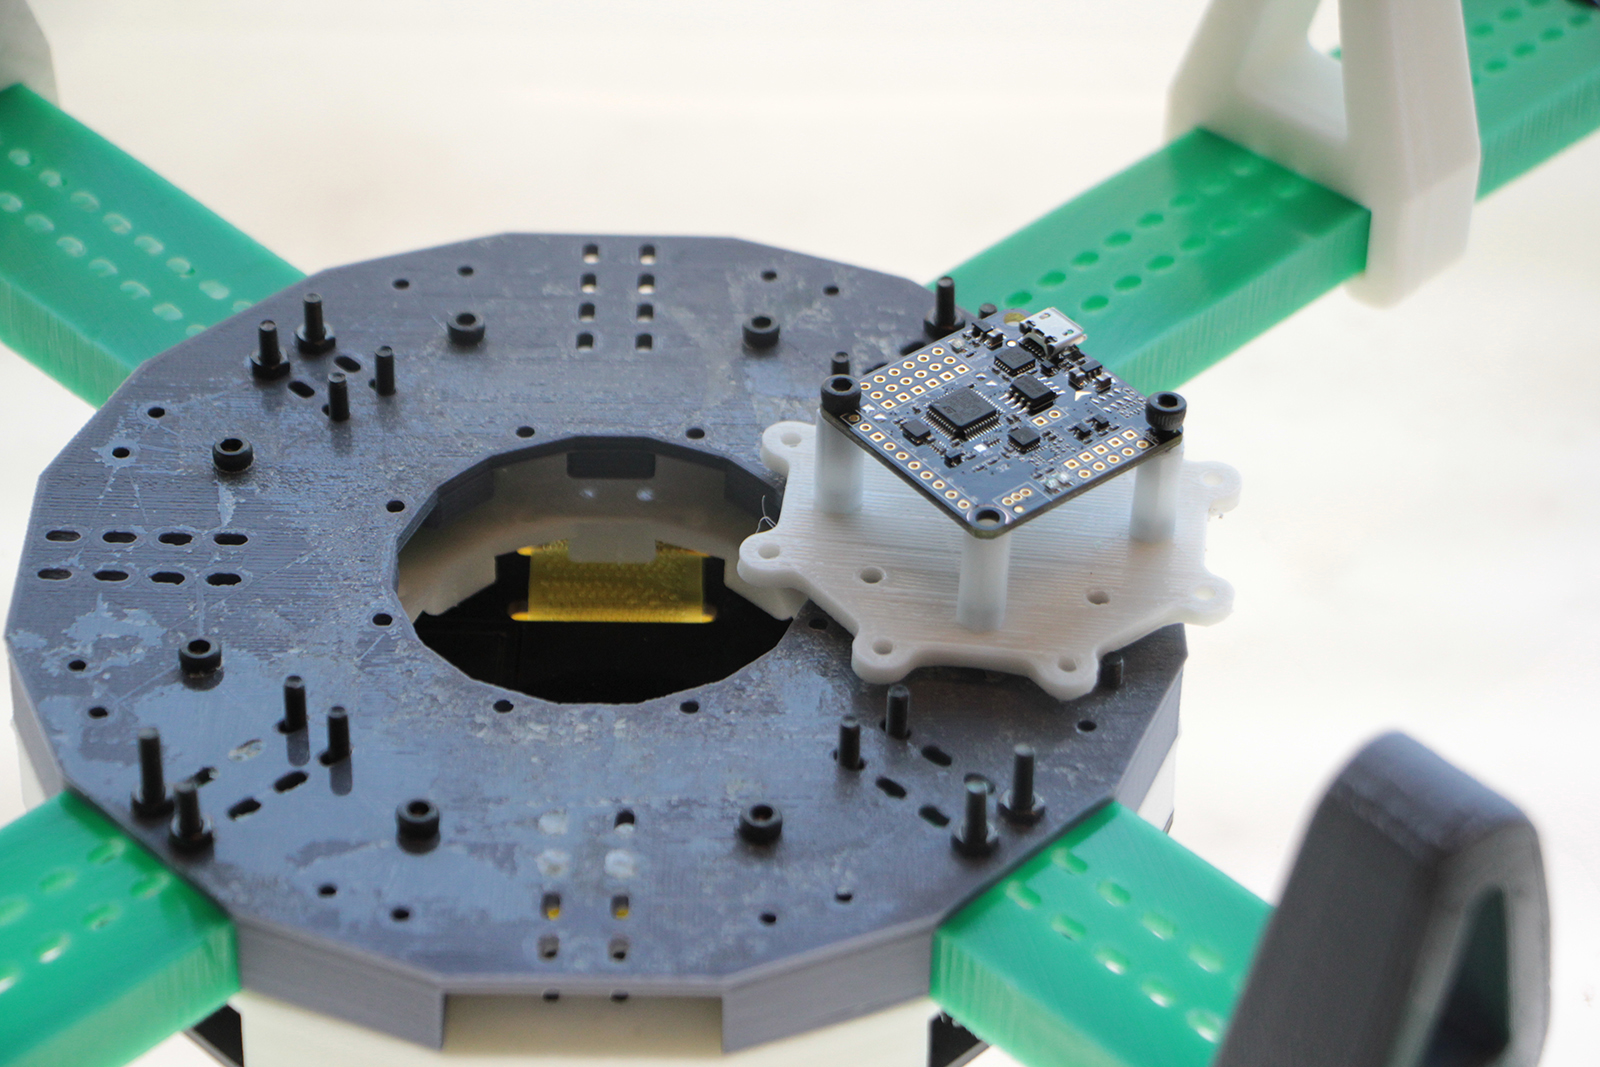
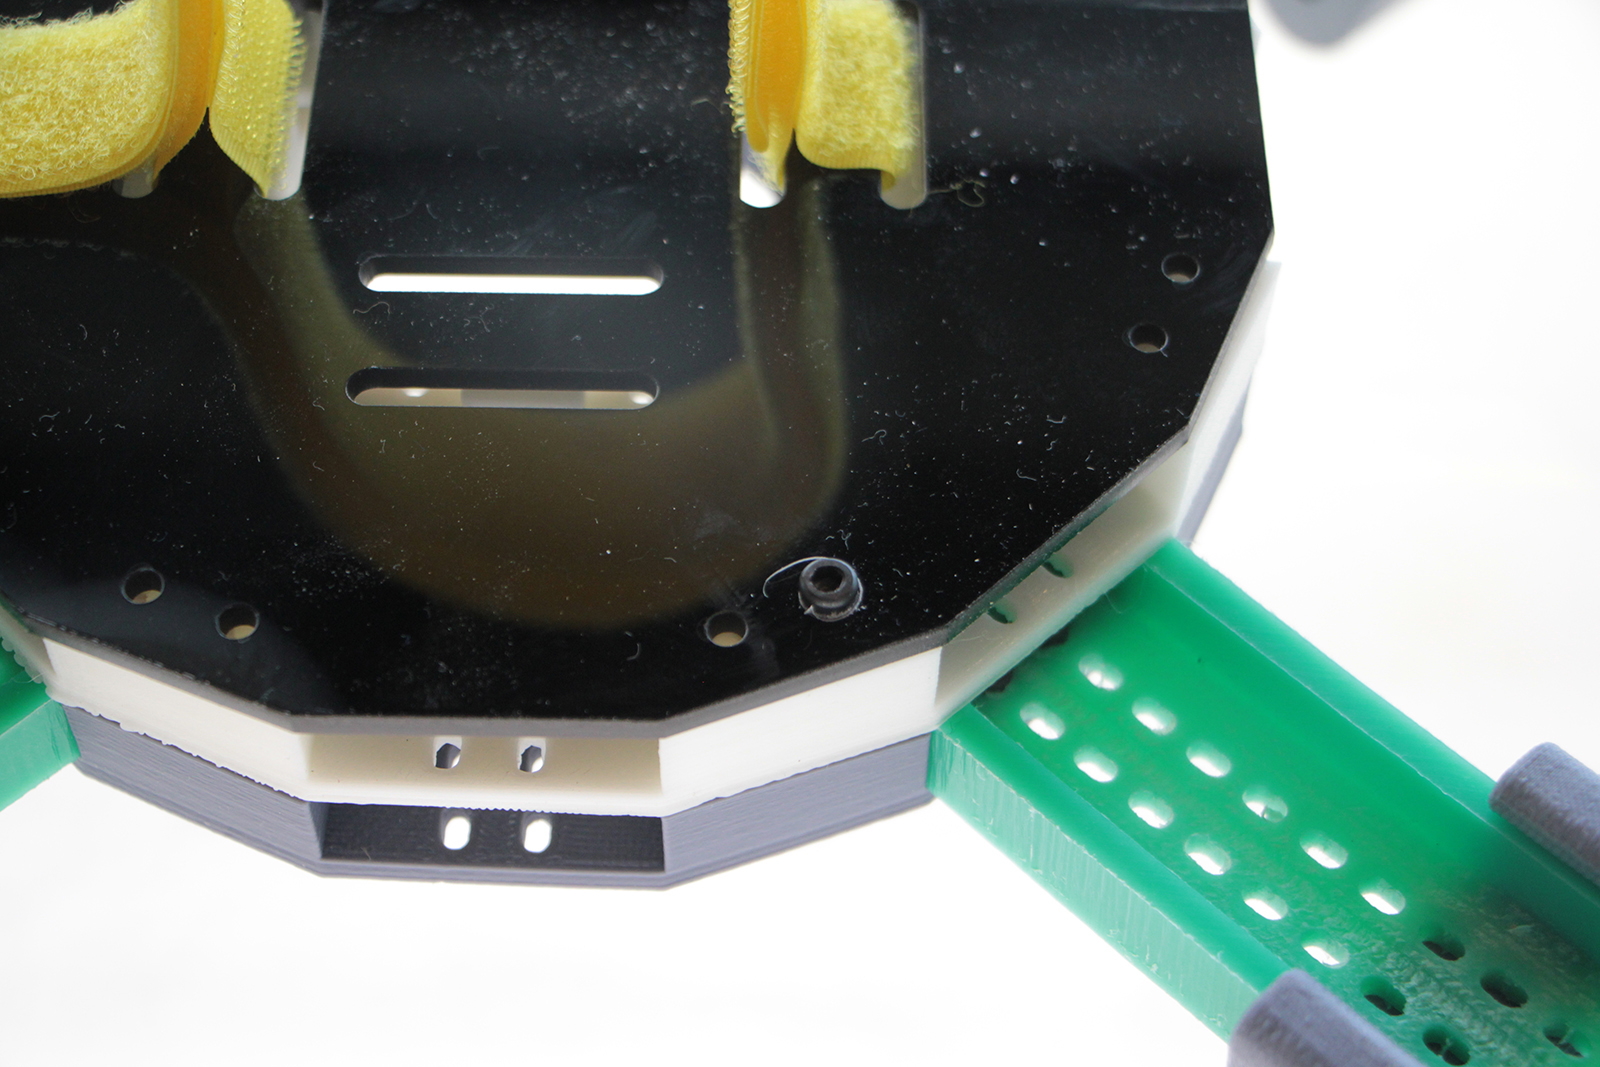
Introduce the flight controller from the bottom part on the drone.
TADA!!!!